
Fix a Leaky Faucet in 5 Easy Steps: Stop Wasting Water Today!
What You’ll Need Before Starting
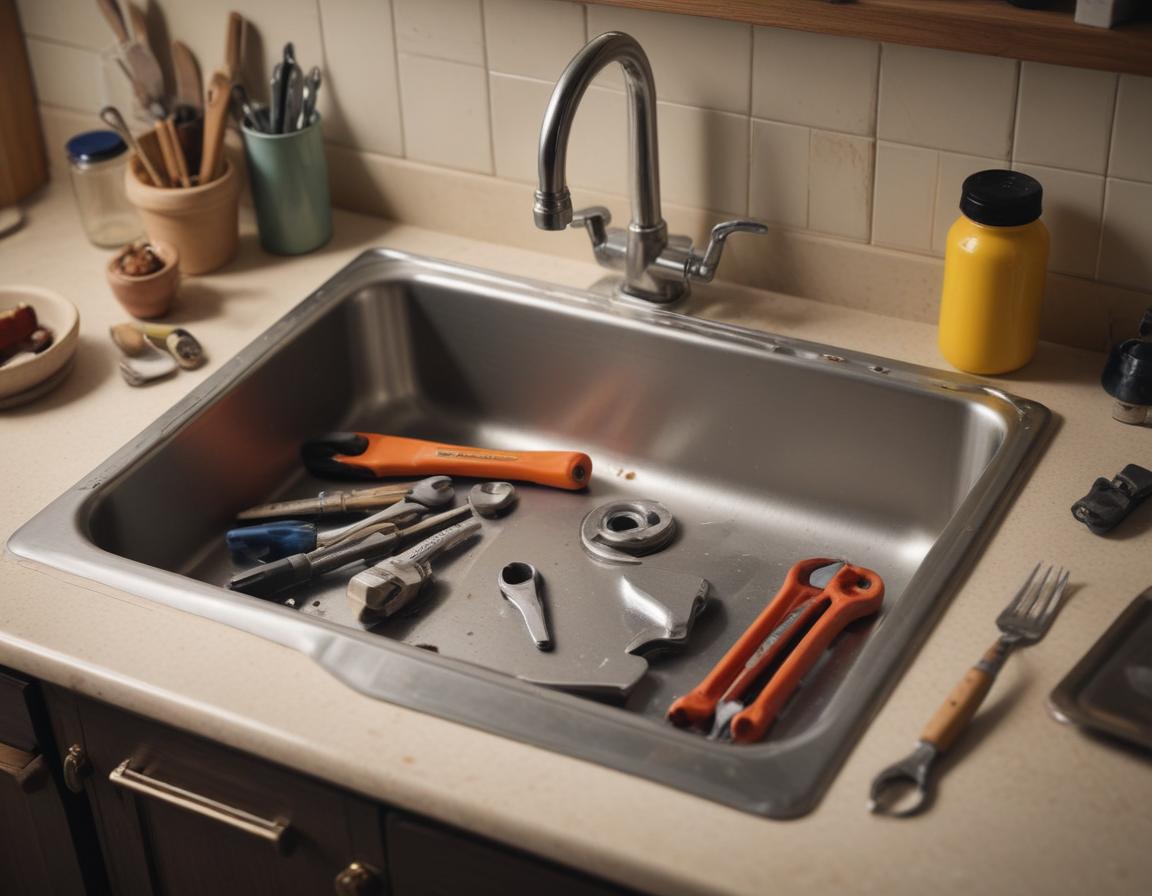
Preparation is key to any successful DIY project. Before jumping into the repair, gather the necessary tools and supplies to save time and frustration. Here’s what you’ll need:
- An adjustable wrench
- Slot and Phillips-head screwdrivers
- Replacement O-rings or washers (specific to your faucet type)
- Plumber’s grease for lubrication
- A rag to wipe spills
These essentials are inexpensive yet crucial for the fix. Having everything within reach streamlines the process and ensures downtime is minimized. Even if you’re unsure about some parts, a quick trip to the local hardware store or an online guide can help you identify what’s needed.
Step 1: Turn Off the Water Supply
Safety first! Before starting your repair, locate the water supply valves under your sink and turn them clockwise to shut off the water. This step prevents unexpected flooding or messes.
If the under-sink valves are difficult to operate or malfunction, consider shutting off the main water supply to your house. Always test the faucet after turning off the water to confirm it’s safe to proceed. Pro tip: Place a small bucket under the sink to collect any remaining water—it’s a simple precaution that can save you a headache later.
Step 2: Identify the Faucet Type
Understanding your faucet type is essential for a successful repair. Faucets widely fall into two categories:
- Compression: Separate hot and cold handles often requiring O-ring or washer replacements.
- Washerless (Cartridge): Single-lever designs that may need seat washers or springs replaced.
If you’re unsure about your faucet type, consult an online guide or product manual. This identification process ensures you’re prepared with the correct replacement parts, helping tasks flow smoothly later. Knowing your faucet type is like solving half the puzzle before you even begin!
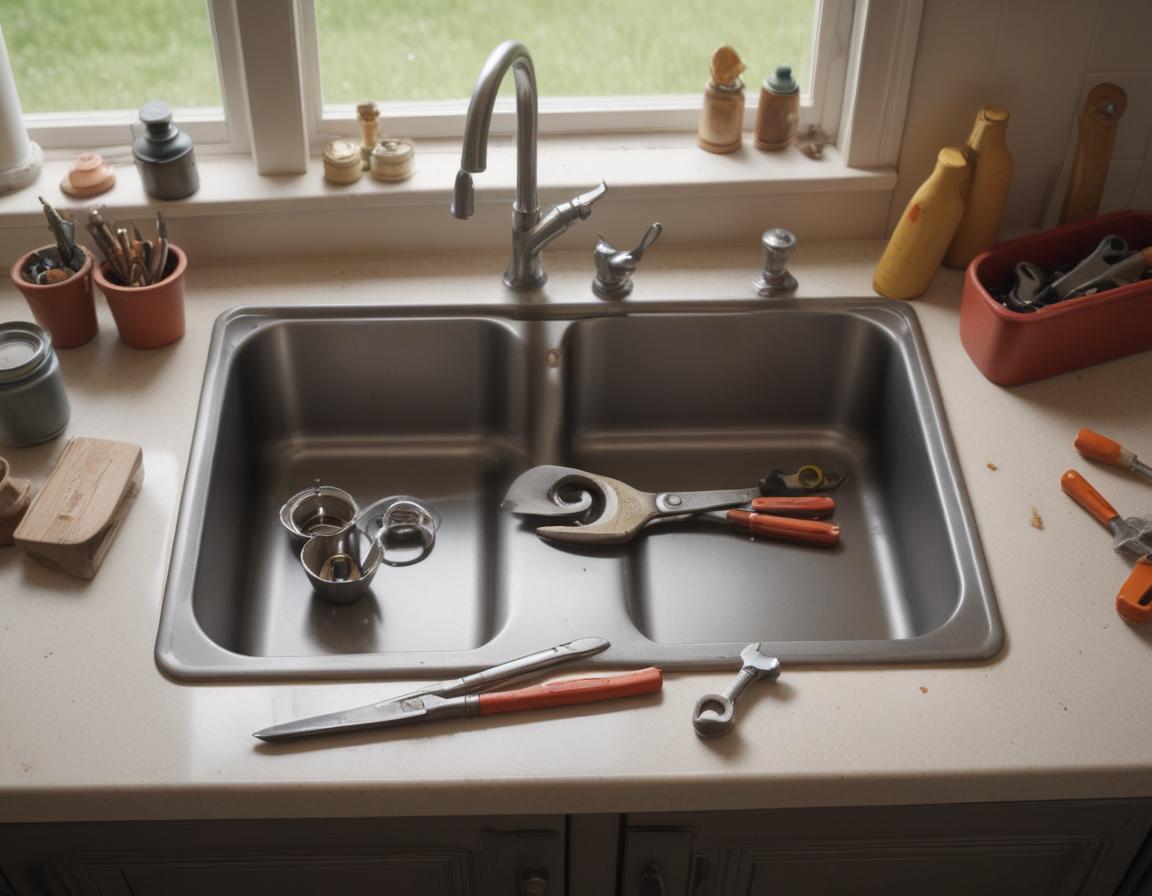
Step 3: Disassemble the Faucet
Once you’ve identified your faucet type, it’s time to disassemble it. Start by covering the sink drain with a towel or rag. This simple step prevents small parts from slipping away during the repair.
For compression faucets: Remove the handle cap with a screwdriver, then gently unscrew the packing nut. For washerless models: Remove the escutcheon plate and carefully pull out the cartridge. Keep a record of the order in which parts are removed to ensure smooth reassembly. Taking photos of this process from start to finish can act as your personalized visual manual—it’s a DIY lifesaver!
Step 4: Replace Worn Parts
Carefully inspect the internal components of your faucet, such as O-rings and washers. Damaged or brittle parts are often the main cause of leaks. Replace the worn components with high-quality alternatives designed for your faucet model.
Before reinstallation, apply a small amount of plumber’s grease to the new parts. This added lubricant improves sealing and enhances the smooth operation of your faucet. A little caution here goes a long way in promoting the longevity of your repair and preventing further leaks.
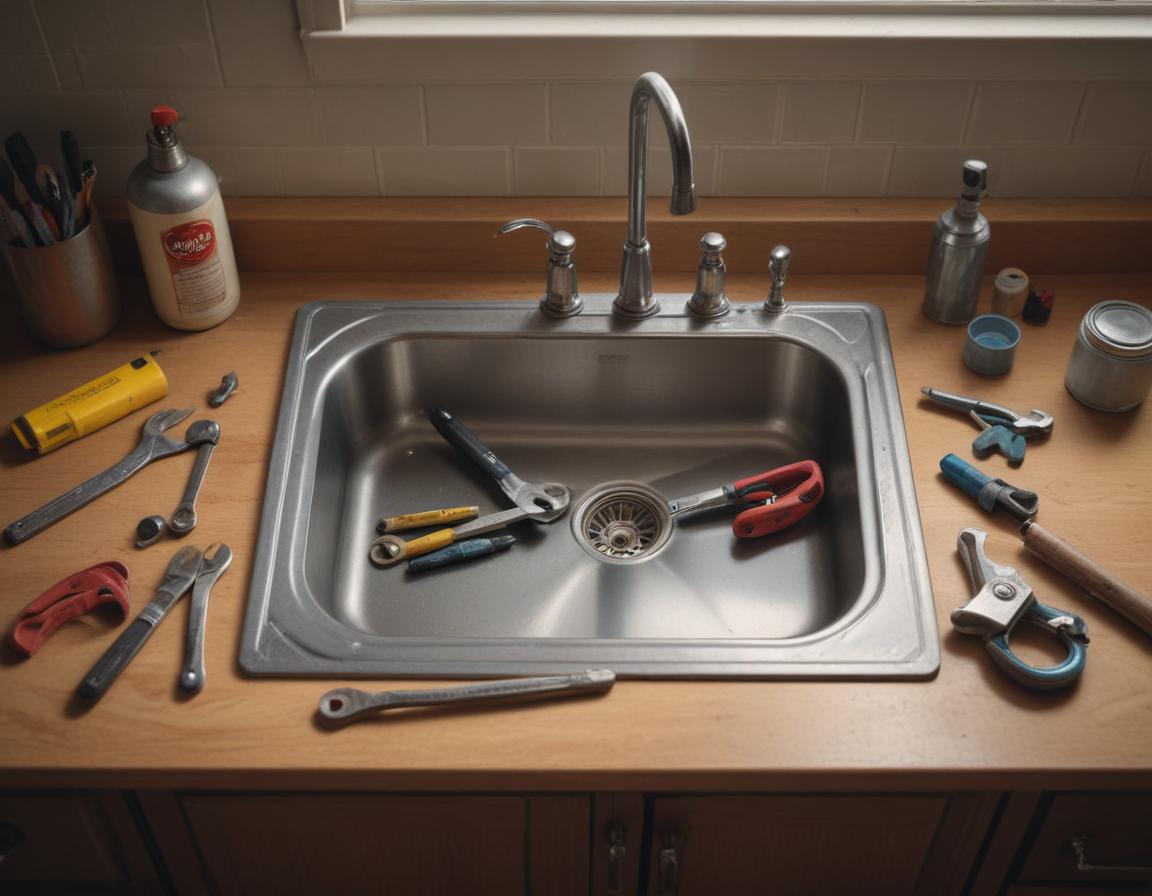
Step 5: Reassemble and Test
Now comes the moment of truth—reassembly and testing. Reverse the steps you took to disassemble the faucet. Secure screws and tighten components snugly, but avoid over-tightening to prevent damage.
Once reassembled, gradually turn the water supply back on and check for leaks. If you still notice a pesky drip, revisit the removed components to verify proper installation. Occasionally, internal corrosion could call for a full faucet replacement. However, if you’ve followed all the steps, chances are you’ve nailed it!
Congratulations, You’re a DIY Pro!
With these five simple steps, you’ve tackled that leaky faucet like a pro. Not only have you silenced that annoying drip, but you’ve also saved hundreds of gallons of water, reduced your utility bills, and extended your faucet’s lifespan.
Why not share this guide with your friends and inspire them to take charge of their plumbing? Bookmark this for future reference and stay tuned for more handy DIY tips and tricks. Happy fixing!
“`