
“`html
How to Fix a Leaky Faucet: A DIY Guide to Saving Water and Money
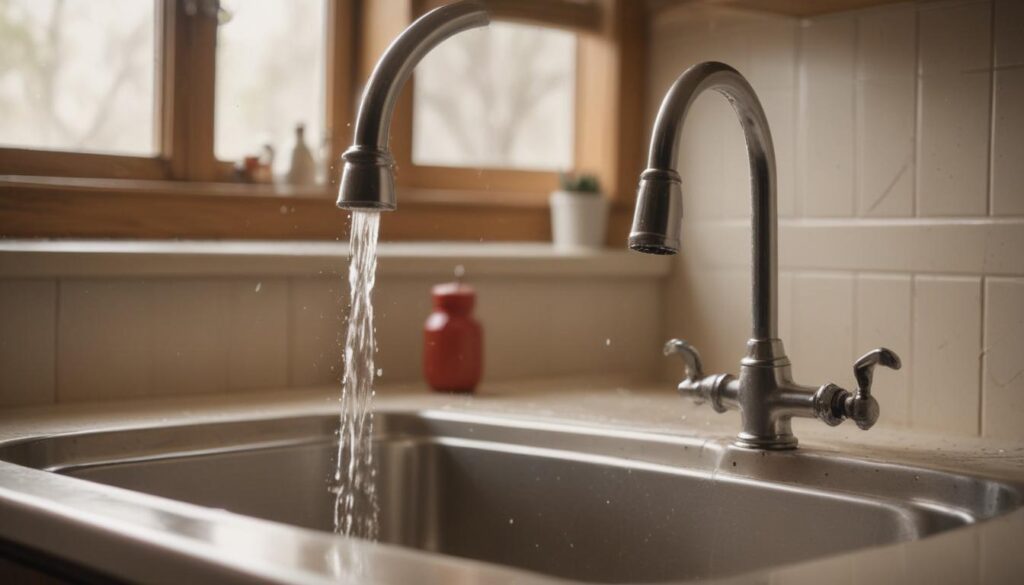
A dripping faucet is more than just an annoying sound—it wastes water and increases your water bill. The good
news is that fixing a leaky faucet is simpler than you might think. With a little guidance and the right
tools, anyone can stop that drip in its tracks. In this blog, we’ll explore practical steps and tips for
identifying, diagnosing, and repairing a leaky faucet, ensuring your home stays efficient, and your wallet
stays protected.
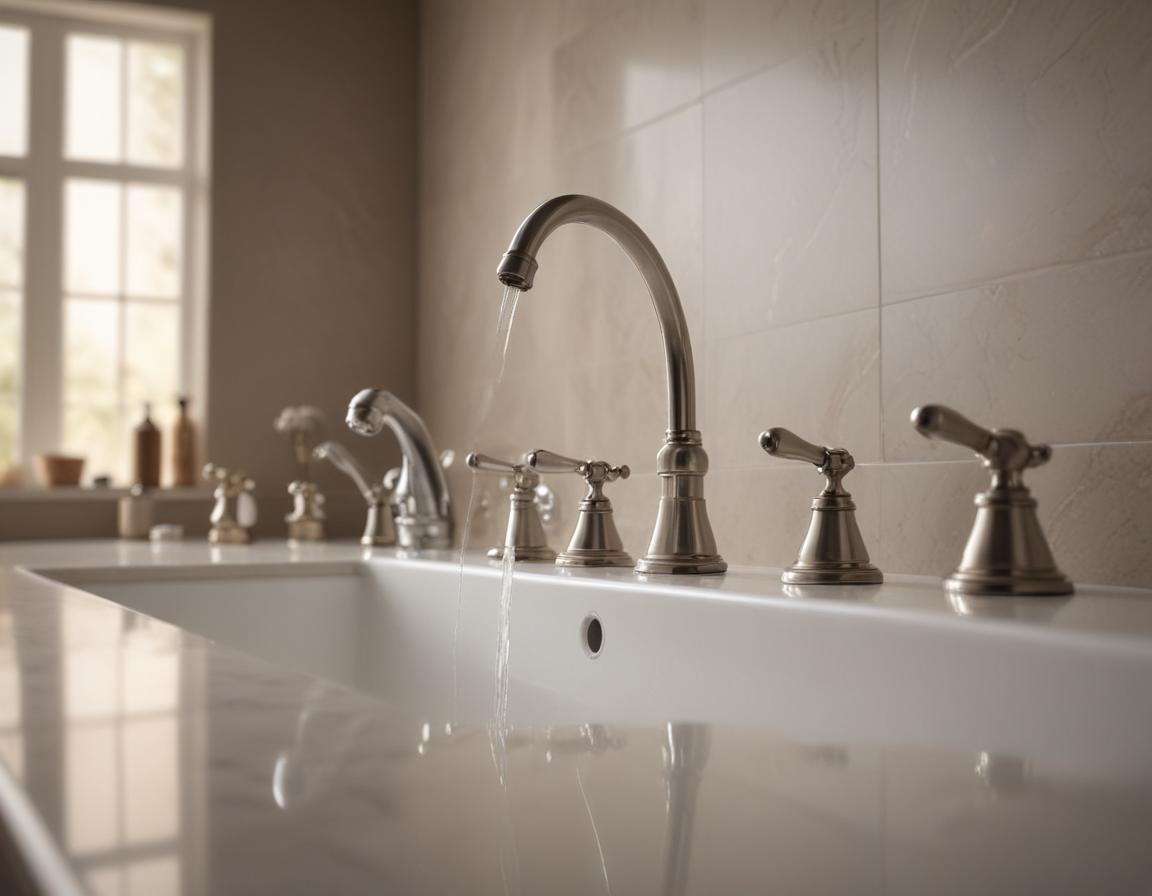
Step 1: Identifying the Type of Faucet and Leak Cause

Before diving into any repair, it’s essential to identify the type of faucet you’re dealing with. Faucets
generally fall into four main categories:
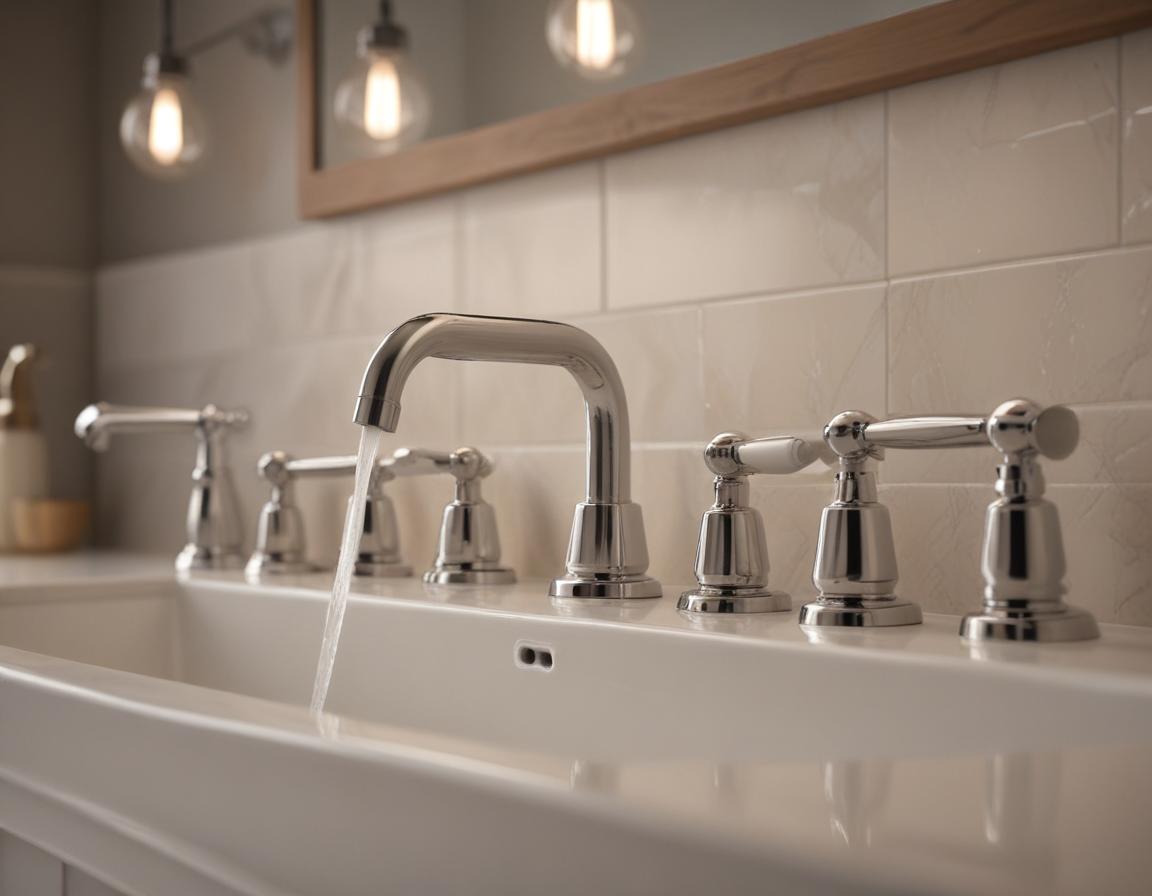
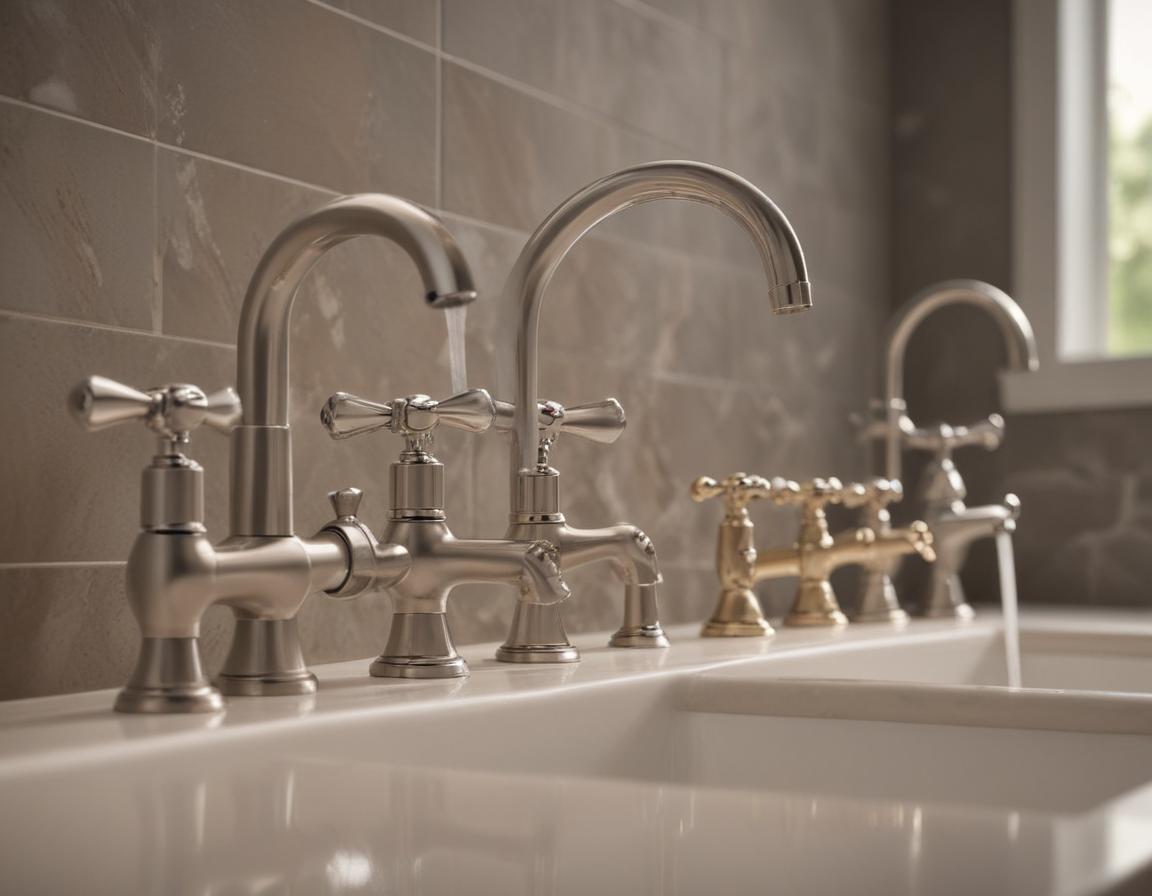
- Compression Faucets: These are the traditional ones found in older homes with separate hot and
cold handles. - Cartridge Faucets: Featuring a cartridge inside, they can have a single lever or two separate
knobs that control water flow. - Ball Faucets: These have a single lever with a ball mechanism at their base, commonly seen in
kitchens. - Ceramic-Disc Faucets: Modern faucets with a ceramic disc that regulates water flow.
Once you identify the type, examine what’s causing the leak. Drips are often due to worn-out rubber
washers, O-rings, or even a corroded valve seat. If the leak occurs only when the faucet is
on, the problem may lie with the cartridge or its seals. Accurately diagnosing the issue will save you time
and effort down the road.
Step 2: Gathering the Necessary Tools and Materials
Now that you’ve pinpointed the problem, it’s time to gather your tools and materials to make the repair
process seamless. Here’s what you’ll likely need:
- Tools: Adjustable wrench, flathead and Phillips screwdrivers, Allen wrench (for cartridge
faucets), pliers. - Replacement Parts: Check your local hardware store for washers, O-rings, or cartridges that match
your faucet model. - Grease: Silicone grease or plumber’s grease for lubrication to create a secure, leak-proof seal.
- Lubricants: Plumber’s lubricant or WD-40 for loosening stubborn parts.
Prepare a clean, well-lit workspace before you begin. With the right tools, everything is set to fix the
leak efficiently!
Step 3: Shutting Off the Water Supply
Safety first! Start by turning off the water supply to avoid any mess. Local shutoff valves are commonly
located under the sink. Rotate these clockwise until fully closed. If your sink doesn’t have specific
shutoffs, locate and turn off the main water supply for your home.
Test your shutoff by turning on the faucet—let all remaining water in the pipe drain out. This precaution
prevents accidental water flows while you’re working. Now, you’re ready for the next step.
Step 4: Disassembling the Faucet
Carefully take apart your faucet to access its inner components. Here’s how to do it:
- Use a flathead screwdriver to gently remove decorative caps on the faucet handle.
- Unscrew and remove the handle with the appropriate screwdriver or Allen wrench. This will expose the
faucet stem. - Find the packing nut securing the stem assembly. Use an adjustable wrench to unscrew it
carefully. - Pull out the stem assembly to inspect and replace small components if needed (e.g., washers, O-rings).
Keep track of every piece you disassemble to avoid any confusion when putting it all back together.
Step 5: Inspecting and Replacing Damaged Components
Once the inner components are exposed, inspect them for damage or buildup. Look for:
- Valve Seat: Corrosion or mineral deposits that can cause leaks.
- Washers & O-rings: Cracks, wear, or distortion.
Clean the valve seat with a utility knife or screwdriver to remove deposits. If the surface is corroded, use
a seat wrench or reamer to smooth it out. Match your replacement washers and O-rings with the old ones, and
apply silicone grease to ensure a snug, water-tight fit. These small details contribute to a long-lasting
repair.
Step 6: Reassembling the Faucet and Testing for Leaks
After replacing the damaged parts, it’s time to put everything back together:
- Insert the stem assembly and tighten it securely with an adjustable wrench.
- Reattach the packing nut, screws, and decorative caps.
- Avoid overtightening any part, as this can damage the new pieces.
Once reassembled, turn the water supply back on and run the faucet. Check for leaks by inspecting the handle
and spout carefully. If no drips occur, congratulations—you’ve successfully fixed your faucet! If the issue
persists, retrace your steps or consider replacing the entire stem assembly.
Your Turn: Fix Your Faucet and Save Money
By following this guide, you can confidently repair a leaky faucet and avoid unnecessary expenses while
conserving water. Not only will this DIY project save you money, but it also helps contribute to an
eco-friendly home. Remember, small fixes like these can make a significant difference.
If at any point you find the repair overwhelming, don’t hesitate to call a professional plumber. Share your
experiences or tips on fixing a leaky faucet in the comments—we’d love to hear from you!
“`