
How to Fix a Leaky Faucet: A Step-by-Step DIY Guide
Why Fixing a Leaky Faucet Matters
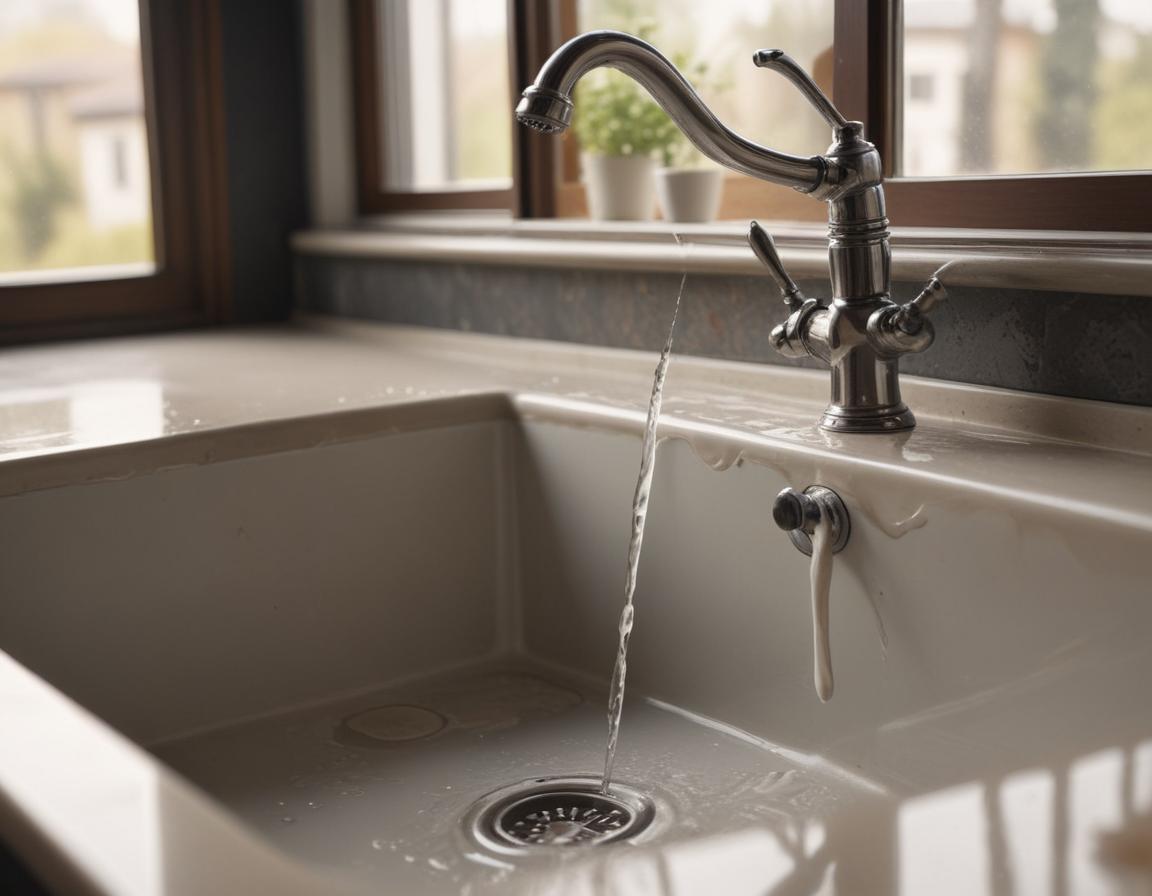
A leaky faucet is more than just the irritating drip in the background of your home. Over time, it contributes not only to inflated water bills but also to environmental harm due to wasted resources. According to the U.S. Environmental Protection Agency, a single dripping faucet can waste over 3,000 gallons of water annually! That’s a serious impact over time.
Fixing the problem doesn’t just save you money—it’s also a meaningful step towards meeting water conservation goals. The good news is that many faucet leaks are caused by simple, easy-to-resolve issues such as worn-out O-rings or washers. By taking on this repair yourself, you’ll boost your DIY confidence, reduce household waste, and eliminate one of the most common nuisances at home.
Tools & Materials You’ll Need
Before beginning your DIY repair, gather the essential tools for the job. Here’s a handy checklist:
- An adjustable wrench
- Flathead and Phillips screwdrivers
- Allen wrench
- Replacement parts like O-rings or washers (specific to your faucet type)
- Optional: Plumber’s grease for smoother reassembly
- Towel or rag to clean up any water spillage
Remember to shut off the water supply before starting. Look for shut-off valves under your sink. If those aren’t available, you may need to turn off the main water supply to your home. Proper preparation ensures a smoother repair process and prevents accidental flooding during the job.
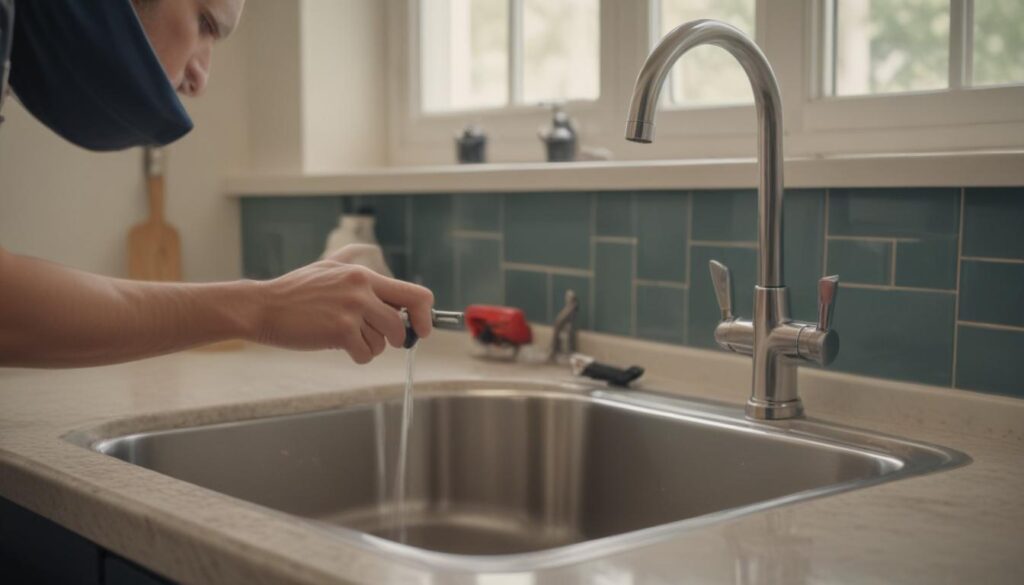
Step 1: Disassemble the Faucet Handle
The first step is to remove the faucet handle, which will give you access to the internal components causing the leak. Start by prying off the decorative cap—if there’s one—to reveal the securing screw. Use an Allen wrench or screwdriver to loosen it.
Gently pry off the handle, keeping in mind that some might require more effort than others depending on the age and condition of your faucet. Be cautious not to damage any parts during this step, as it lays the foundation for the rest of the repair process.
Step 2: Remove and Inspect the Valve Stem

With the handle removed, use a wrench to loosen and unscrew the packing nut. Once it’s loose, carefully pull out the valve stem. This part is often the culprit behind leaky faucets, so inspect it thoroughly. Look for visible wear and tear, such as worn-out O-rings or corrosion.
Identifying the root issue at this stage will save you from unnecessary guesswork later. Once you’ve diagnosed the problem, it’s time to move on and replace any damaged components.
Step 3: Replace Damaged Parts
Take the damaged components with you to a local hardware store to find exact replacements. Matching the size and type of O-rings, washers, or seals will ensure a reliable repair. Don’t forget to pick up some plumber’s grease for smooth and secure assembly.
Once you have the new parts, apply a small amount of grease to enhance durability. Not only will this simplify the reassembly process, but it will also help prevent future leaks.
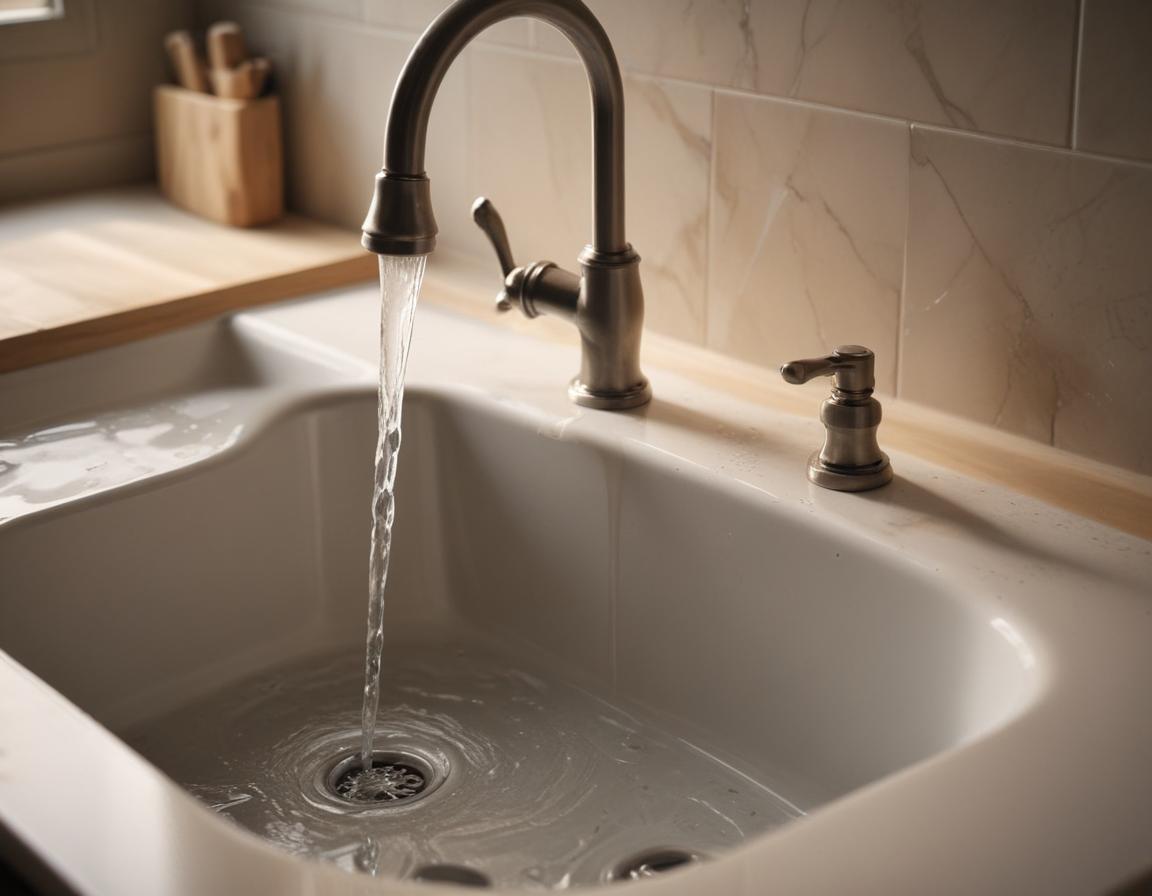
Troubleshooting and Final Reassembly
Now that you have the replacement parts, reassemble your faucet. Reinsert the valve stem, tighten the packing nut, and securely reattach the handle. Once everything is back in place, slowly turn the water supply back on to check for leaks.
If your faucet continues dripping, double-check the connections or consider other factors like sediment buildup in the aerator. In rare cases, a cracked valve seat may require professional attention. However, most DIY repairs resolve the issue if you’ve followed the steps carefully.
Final Thoughts
Fixing a leaky faucet isn’t as daunting as it might seem. By taking on this quick and rewarding DIY project, you’ll not only save money but also conserve thousands of gallons of water each year. Best of all, you’ll gain confidence in tackling other household repairs!
If you have any questions or successfully repaired your faucet, share your experience in the comments below. Don’t forget to subscribe to our blog for more handy home maintenance guides. Together, let’s embrace eco-friendly and cost-effective living, one project at a time!
“`