
DIY Plumbing Repair: Fixing a Leaking Pipe Under the Kitchen Sink
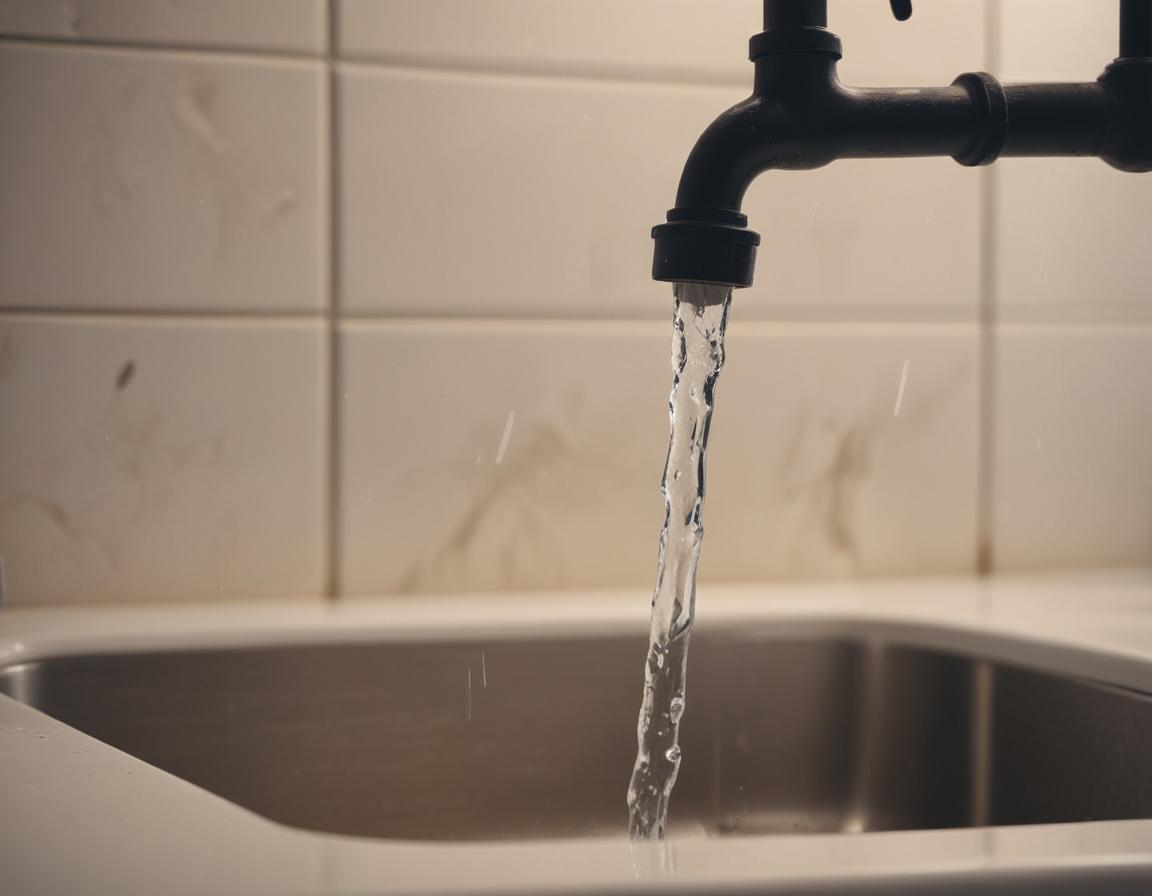
Identifying the Problem
Before diving into plumbing repairs, it’s important to identify the source of the leak. A leaking pipe under the kitchen sink can result from various issues, such as:
- Loose connections
- Cracks in the pipe
- Worn-out plumbing fixtures
Begin by removing any items stored under the sink to give yourself clear access. Use a flashlight to thoroughly inspect the area for water stains, moisture, or dripping points. Once you locate the source, wipe the area dry to better observe the leak in action. Determining the root cause of the problem will guide you in applying the most effective fix, so take your time during this initial step.
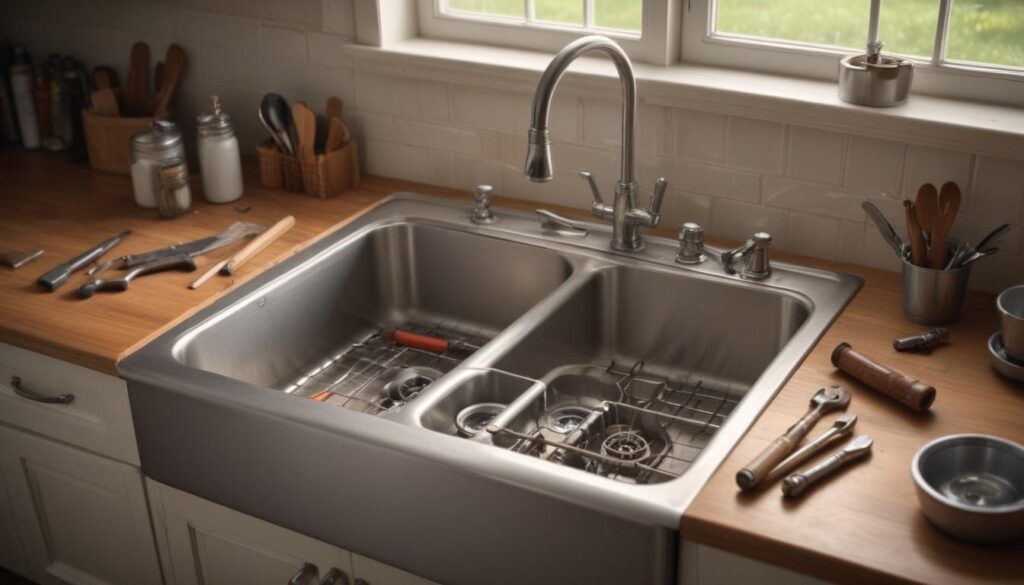
Gathering Tools and Materials
Preparation is key to effective DIY repairs. To fix a leaking pipe, make sure you have the right tools and materials at hand. Here’s a list of what you’ll need:
- An adjustable wrench
- Plumber’s tape (Teflon tape)
- Replacement seals or rubber gaskets
- A bucket or towel for water spills
- A hacksaw (if replacing a pipe section)
Having everything set up before you begin helps avoid mid-project delays and reduces frustration. Double-check your toolkit—being prepared sets the stage for a smooth and stress-free repair process.
Tightening Loose Connections
Loose pipe connections are often the culprits behind leaks. Here’s how to address the issue:
- Carefully tighten the fittings using an adjustable wrench. Avoid over-tightening to prevent damaging the threads or pipes.
- Turn on the water supply and check if the leak persists.
If the connection still leaks, disassemble the pipe joint and inspect it for signs of wear, rust, or damage. Replace any faulty components, such as washers or gaskets, and reassemble it. Sometimes, just a simple adjustment can resolve the problem.
Replacing Worn Seals and Using Plumber’s Tape
If tightening loose connections doesn’t solve the leak, replacing seals and applying plumber’s tape might do the trick:
- Remove the pipe joint and inspect the rubber washers or gaskets. Replace any that appear cracked, thin, or worn out.
- Wrap plumber’s tape around the pipe’s threaded areas. Apply multiple layers for extra security, but don’t overdo it.
- Reconnect the pipe joint securely.
Once everything is reassembled, turn on the water supply and check for leaks. This process is both simple and cost-effective, making it ideal even for a plumbing DIY newbie.
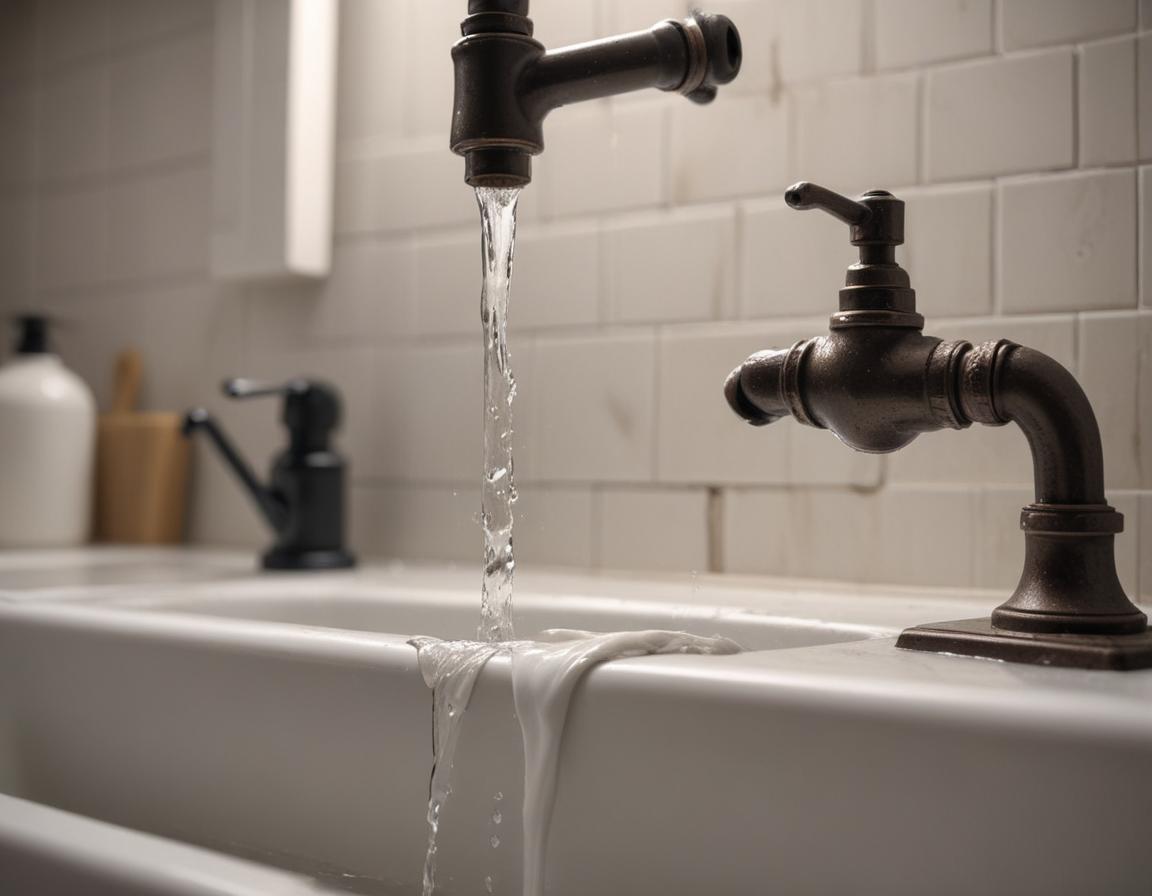
Replacing Damaged Pipes
In cases where the pipe itself is cracked or damaged, a full replacement may be necessary. Here’s how to approach it:
- Shut off the water supply to avoid flooding.
- Use a hacksaw or pipe cutter to remove the damaged section.
- Measure and cut a replacement pipe to match the old one. Be precise to ensure a proper fit.
- Secure the new pipe using appropriate connectors.
- Test the connections for leaks after installation.
When selecting replacement pipes, consider durable materials like PVC or metal alternatives that suit your home’s plumbing system.
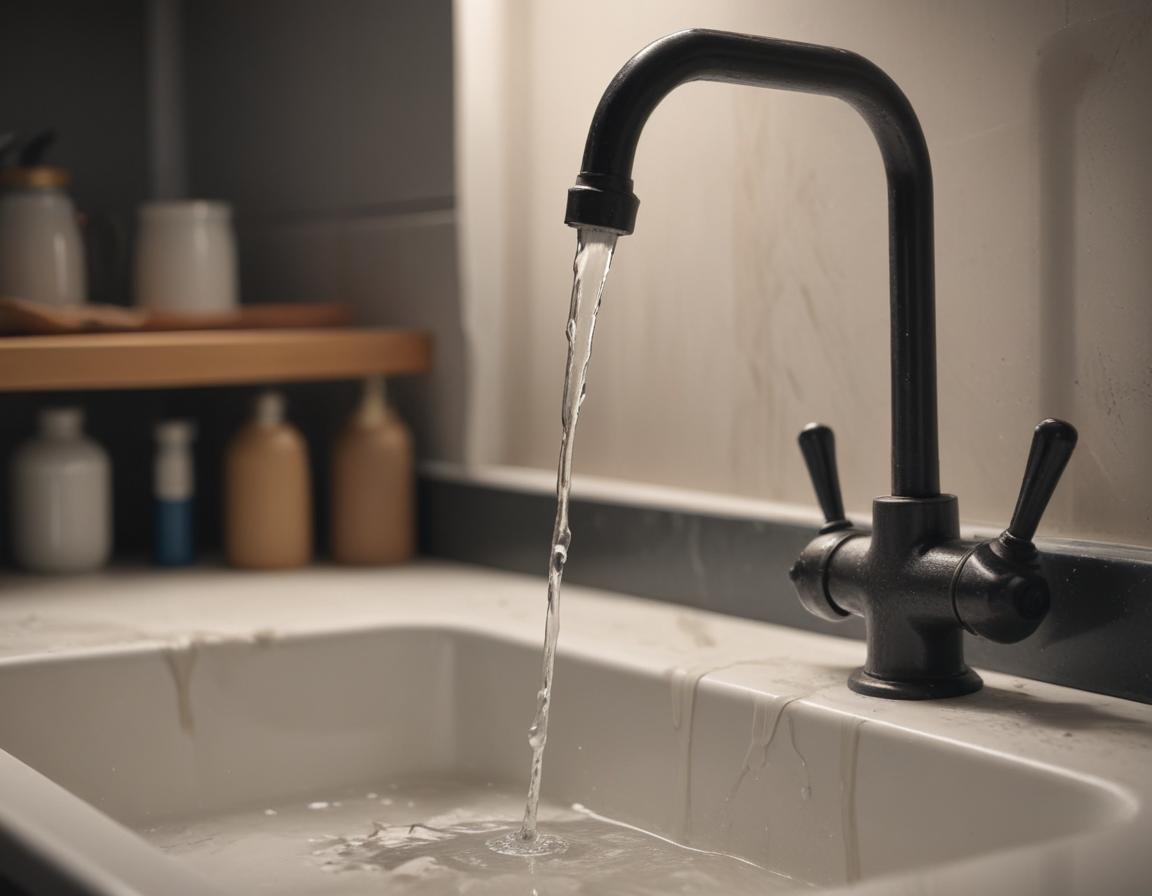
Testing and Final Checks
Once your repair is complete, it’s crucial to test everything thoroughly. Here’s what you should do:
- Turn on the faucet and observe all repaired connections for moisture or drips.
- Leave the water running for several minutes while checking for leaks.
- If you notice any issues, make adjustments and retest.
Proper testing ensures that your repair is solid and eliminates the risk of recurring leaks. Once satisfied, tidy up the space and pat yourself on the back for a job well done!
Conclusion
Dealing with a leaking pipe under the kitchen sink doesn’t have to stress you out or break your budget. With a few tools, some know-how, and a bit of patience, you can tackle this problem in no time. DIY plumbing repairs like these save you money and make you more confident in handling minor home maintenance issues. Remember to inspect your work, test for leaks, and stay prepared for any future occurrences. Happy repairing!
“`