

How to Fix a Leaky Faucet: A Step-by-Step DIY Guide
Step 1: Identify the Faucet Type
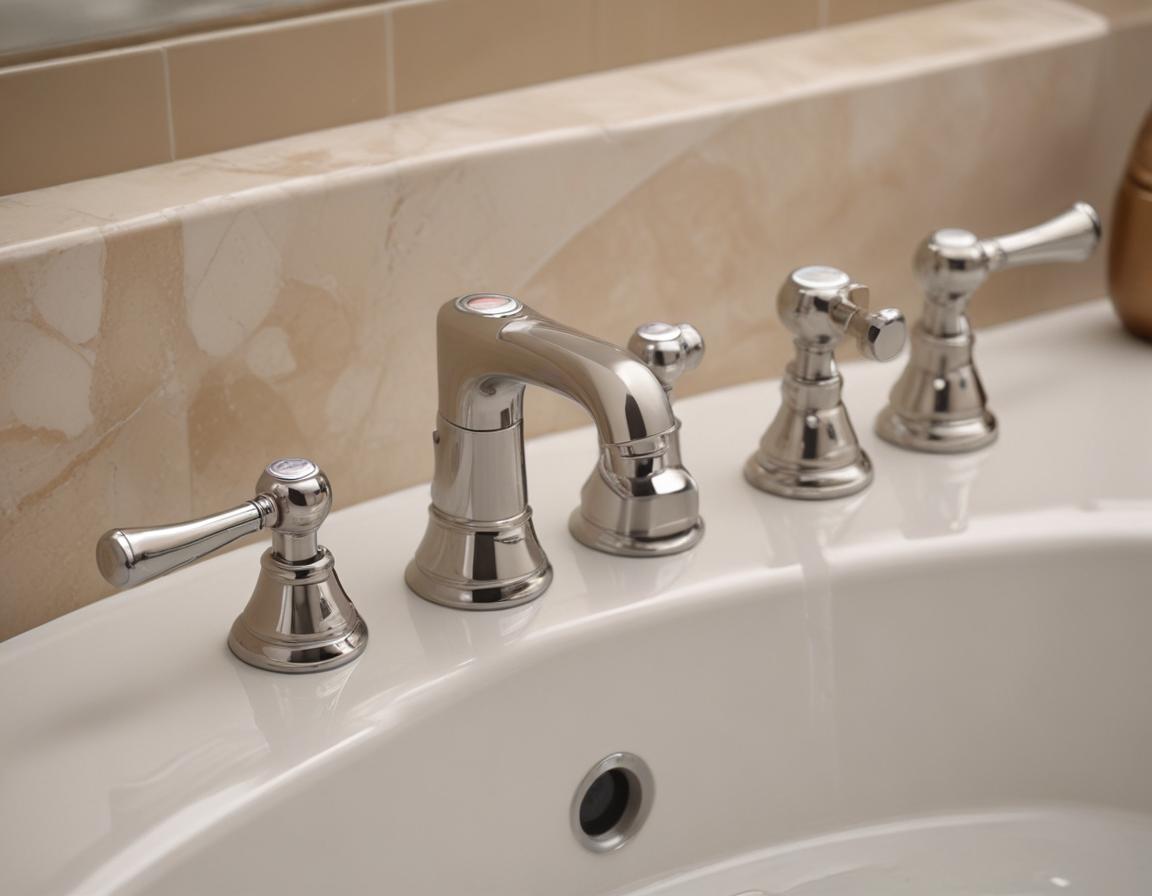
Before tearing anything apart, determine the type of faucet you’re dealing with. The most common types are compression, cartridge, ball, and ceramic-disk faucets. Each has a unique mechanism, so identifying yours is critical to a successful repair.
– Compression faucets: Typically found in older homes and recognizable by two separate handles for hot and cold water.
– Cartridge faucets: Feature a single handle that moves side-to-side or up-and-down.
– Ball faucets: Easily identifiable by a single lever that controls water flow using a spherical mechanism.
– Ceramic-disk faucets: Utilize two ceramic disks to regulate water flow smoothly and are often low-maintenance.
Knowing the type of faucet will help you choose the right replacement parts and proceed with the appropriate repair steps.
Step 2: Gather the Right Tools
Having the right tools at your disposal can make fixing a leaky faucet straightforward and hassle-free. Here’s a checklist of what you’ll need:
- Adjustable wrench
- Flathead and Phillips screwdrivers
- Slip-joint pliers
- Allen wrench (for some faucet types)
- Replacement parts such as washers, O-rings, or cartridges specific to your faucet
- Plumber’s grease for lubrication
If you’re unsure about replacement parts, bring the worn-out components to your local hardware store for assistance. Last but not least, have towels or rags nearby to catch any drips and keep the workspace clean.
Step 3: Shut Off the Water Supply
Prevent a watery mess by shutting off the water supply before starting your repairs. Most sinks have small shutoff valves located underneath them. Turn these valves clockwise to cut off the flow of water.
If your sink doesn’t have functional shutoff valves, you may need to switch off your home’s main water supply. Once the water is off, open the faucet to drain any remaining water in the lines. This is a crucial step to avoid unexpected leaks during the repair.
Step 4: Dismantle the Faucet
Now you’re ready to get hands-on! Use a screwdriver to remove the faucet handle. Some faucets have screws hidden beneath decorative caps, so you may need a flathead screwdriver to gently pry these off.
Once the handle is off, use your adjustable wrench to loosen the packing or coupling nut and expose the internal components. Make sure to keep all small parts organized—placing them in a dish or cloth will prevent losing pieces. And here’s a handy tip: Take a quick photo before dismantling so you’ll have a reference when reassembling later.
Step 5: Inspect and Replace Faulty Parts
With everything exposed, carefully inspect the internal components for damage. Focus on washers and O-rings, as these are the most common culprits behind leaks. Worn washers often appear flattened or cracked, while damaged O-rings feel dry or brittle.
If these parts are broken or worn, replace them with matching components from the hardware store. For cartridge-style faucets, the cartridge itself might need replacing. Apply plumber’s grease to any new rubber components to extend their lifespan and keep everything running smoothly.
Step 6: Reassemble the Faucet
Once the repairs are complete, it’s time to reassemble your faucet. Carefully replace all the internal components, tightening screws and nuts securely—but not excessively, as over-tightening can cause new issues.
Reattach the handle and ensure it moves smoothly. Perform a quick check to make sure everything is aligned correctly. Attention to detail during this step will ensure your faucet operates like new.
Step 7: Test for Leaks
The moment of truth—testing your faucet! Turn the water supply back on by reopening the shutoff valves slowly. Let the water flow through and check for leaks. Test both hot and cold water settings to ensure proper function.
If everything is running smoothly without drips, congratulations—you’ve successfully repaired your leaky faucet! If you spot any leaks, double-check past steps to ensure everything is tightened and seated properly. Persistence pays off!
Conclusion
With some basic tools and a little time, you can stop that pesky drip and save water, money, and effort. Fixing a leaky faucet is not only a money-saver but also environmentally friendly. Attempt these steps to feel like a home-repair expert.
Did these tips help you? Share your thoughts or ask questions in the comments below!
“`