
How to Fix a Leaky Faucet: A Step-by-Step Guide for DIY Plumbers
Tired of That Dripping Sound? Fix Your Leaky Faucet Like a Pro
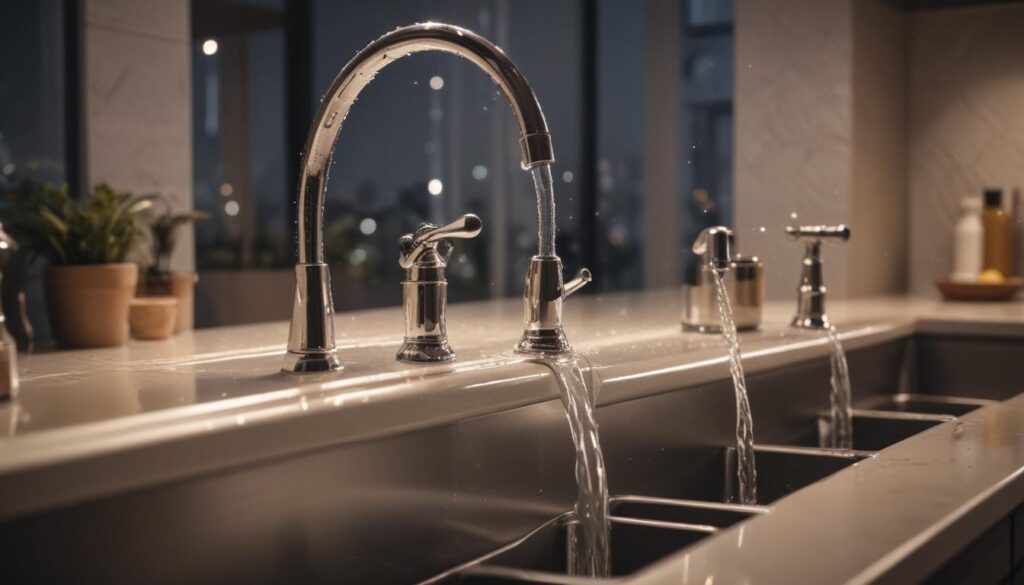
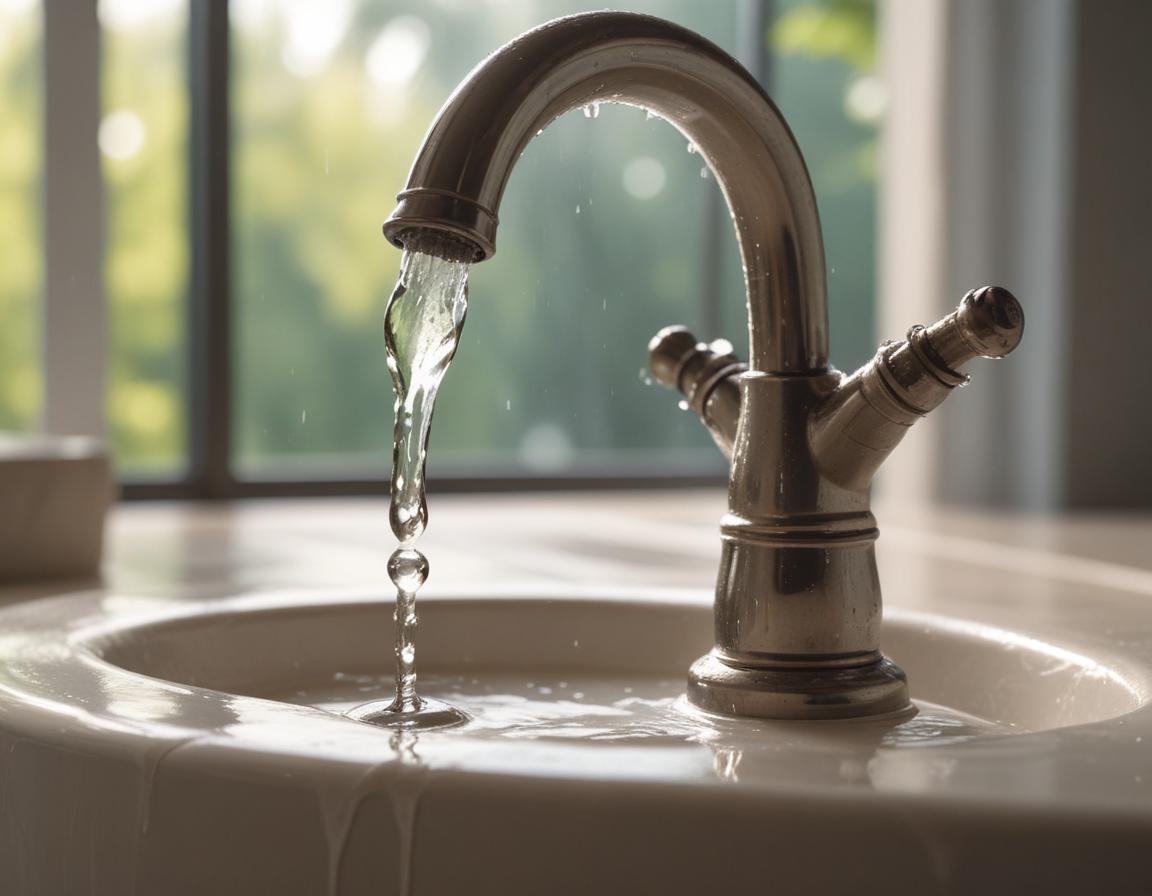
A leaky faucet doesn’t just inconvenience you with its relentless noise. It’s also costing you more than you might realize—wasting gallons of water each year and increasing your utility bills. Over time, these unattended leaks can also cause water damage, including mold growth and warped wood. But before you panic about costly plumber fees, here’s the good news: you can fix this yourself with just a few simple tools. This guide will help you identify the cause of your leaky faucet and repair it like a professional.
If you’re nervous about picking up a wrench, don’t worry. This blog is designed to make even the most DIY-averse homeowners feel confident. Ready to say goodbye to that persistent dripping? Let’s jump right in!
Why Is Your Faucet Leaking in the First Place?
Understanding the root cause of a leaky faucet is the first step toward solving the problem. Most faucet issues stem from three common culprits:
- Worn-out or damaged O-rings
- Loose or corroded valve seats
- Faulty washers or cartridges
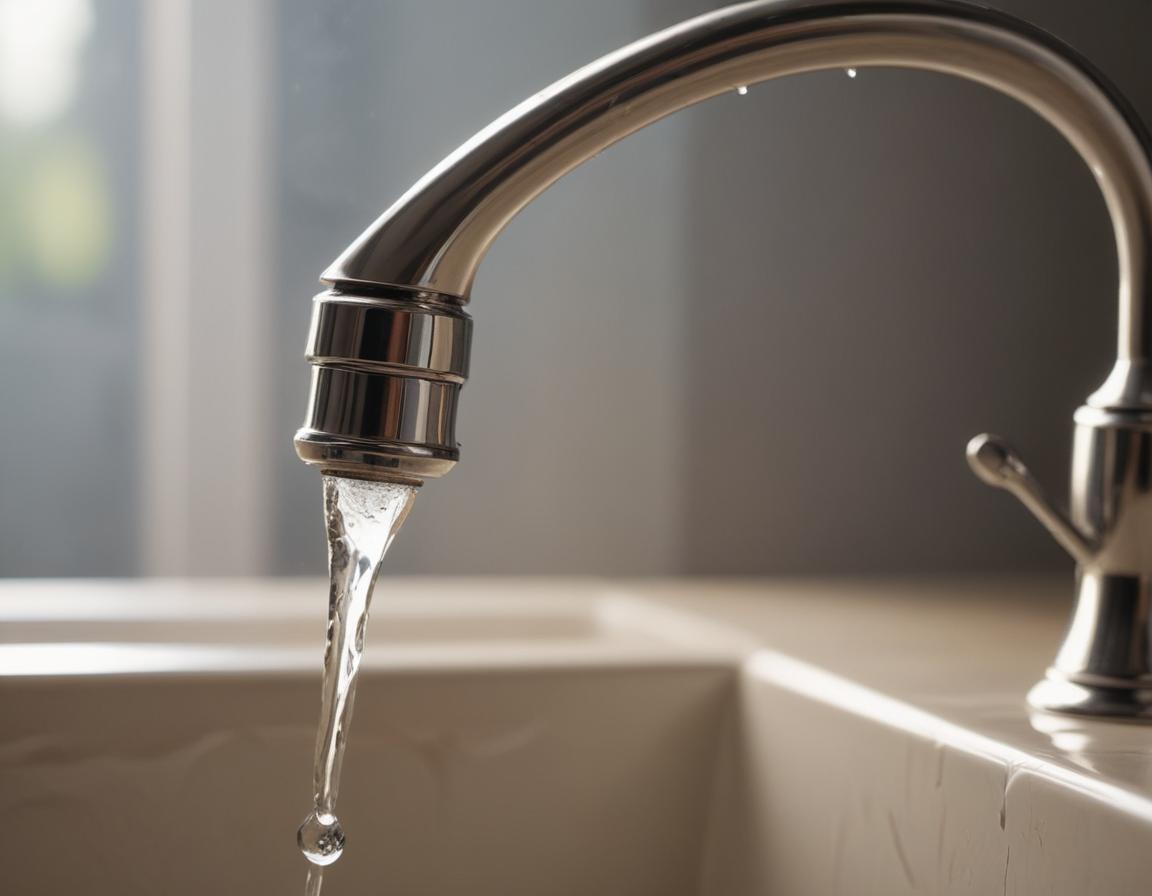
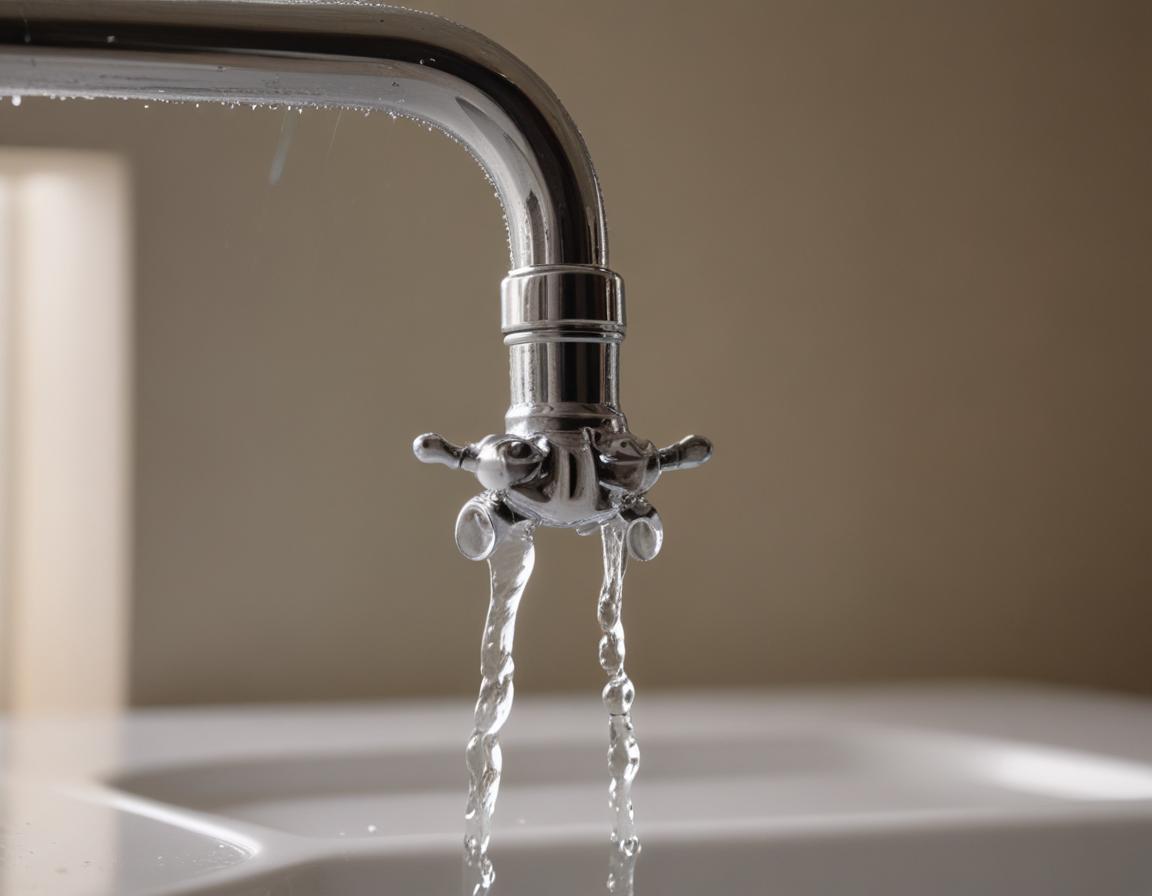
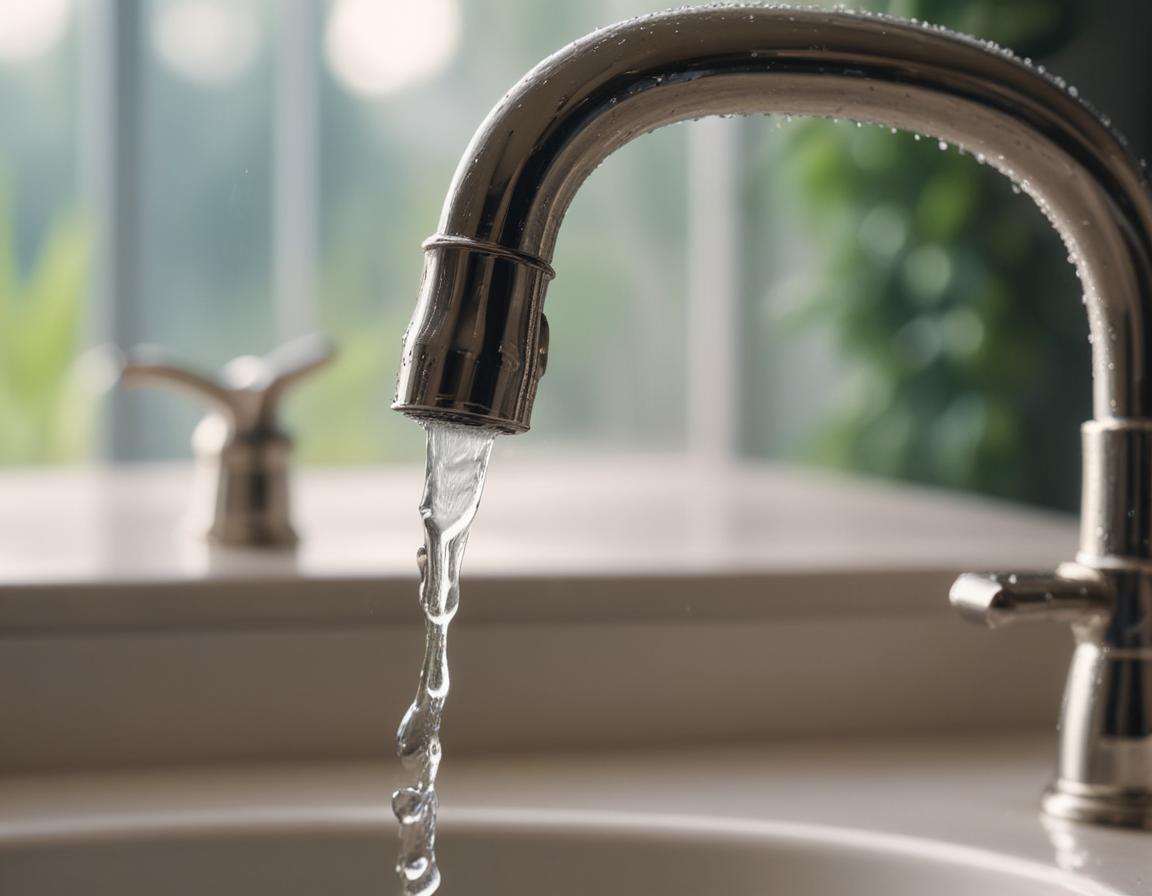
O-rings and washers typically wear out due to constant use and mineral buildup, leading to drips near the handle or spout. Valve seats, which create a seal between the faucet and spout, may corrode over time, especially in homes with hard water. Identifying which component has failed is key to determining the solution.
If diagnosing the issue seems daunting, don’t worry. We’ll guide you through simple troubleshooting methods, so you don’t have to rely on guesswork. Let’s dive deeper into the problem-solving stage—informed decisions lead to better repairs!
Gather Your Supplies: Tools You’ll Need for the Job
Before rolling up your sleeves, ensure you’re equipped with the right tools. For this repair, you’ll need:
- Adjustable wrench
- Pliers
- Small screwdriver set
- Plumber’s tape
- Replacement parts (O-rings, washers, cartridges, etc.)
Many people underestimate how much easier—and faster—a repair becomes when you have everything you need on hand. For instance, wrenches help loosen stubborn bolts, pliers offer better control when removing parts, and plumber’s tape ensures a perfect seal when reassembling components. It’s also smart to consult your faucet’s manual or take the damaged piece to a hardware store to find exact replacements. Remember, preparation is half the battle. The more organized you are, the smoother the repair process will be!
Step 1: Turn Off the Water Supply
The first and most important step in fixing your faucet is to shut off the water supply. Failing to do this can quickly turn a minor issue into a full-blown mess. Here’s how you can safely stop the water flow:
- Locate the shut-off valve under the sink and turn it clockwise until it stops.
- If your sink doesn’t have a dedicated valve, locate the house’s main water shut-off and use it.
- Double-check by turning on the faucet to make sure no water comes through.
Though this step might seem trivial, it’s essential for a clean and stress-free repair. Once you’re sure the water is off, you’re ready to move to the next step!
Step 2: Diagnose the Problem
Now it’s time to figure out what’s causing the leak. Start by:
- Removing the decorative cap on the faucet (if present).
- Using a screwdriver to detach the handle.
- Inspecting the O-ring, washer, valve seat, and cartridge for signs of wear.
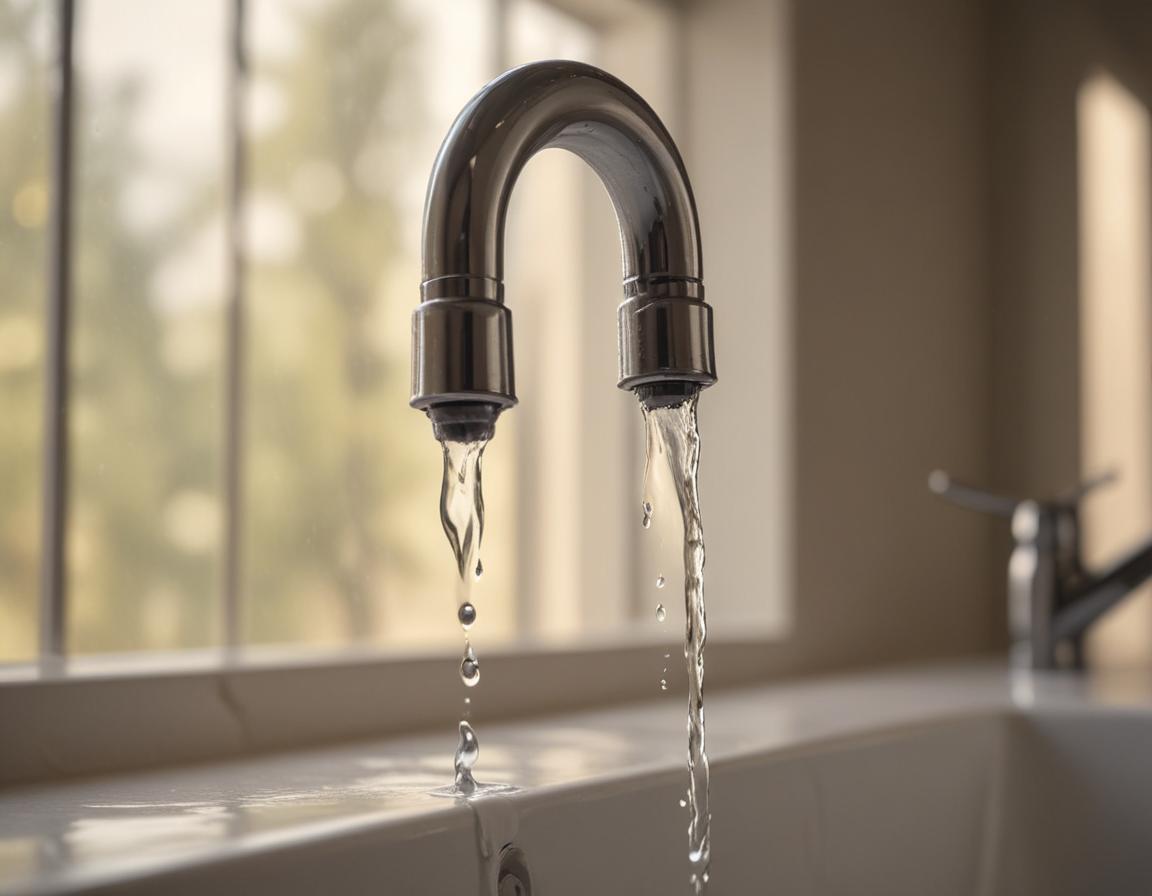
Each part will show specific signs of damage: a worn O-ring might cause leaks near the handle, while washer issues typically result in dripping from the spout. If you spot the faulty component, set it aside for replacement. Otherwise, test other parts to locate the problem. This hands-on examination ensures a targeted fix rather than unnecessary repairs. While it might take a bit of effort, diagnosing the issue properly will save you time and money later.
Step 3: Replace the Faulty Component
Replacing the faulty part may sound intimidating, but it’s actually one of the easiest steps. For O-rings and washers:
- Unscrew and carefully remove the old, worn piece using pliers.
- Install the new replacement, ensuring it’s seated snugly.
For valve seats or cartridges, refer to the manufacturer’s instructions for correct installation. Once the new part is in place, reassemble everything and tighten screws or bolts securely, avoiding over-tightening to prevent thread damage.
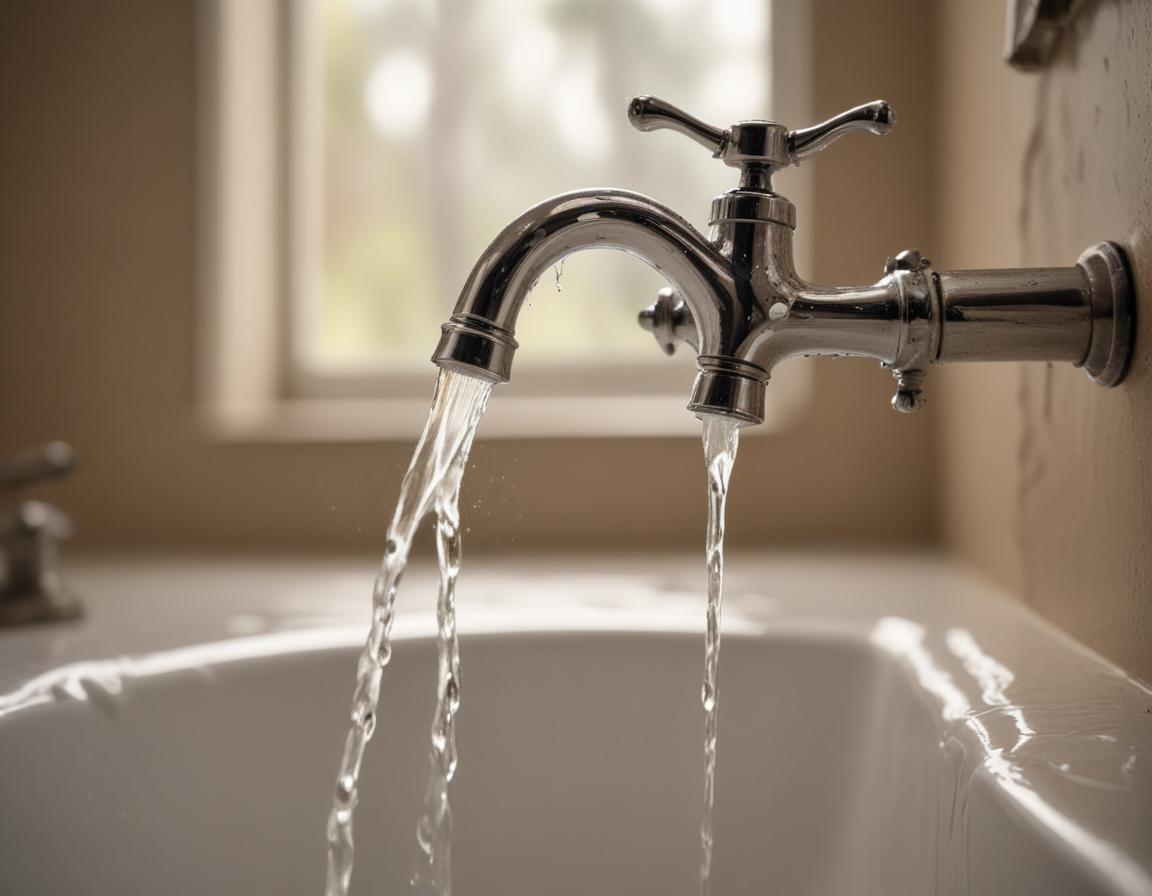
Take a moment to admire your work—you’ve just tackled a plumbing issue like a professional! Now, let’s see how your repaired faucet performs by turning the water supply back on and testing for leaks. Remember, it’s perfectly normal to feel proud of your DIY accomplishment—every attempt builds confidence.
“`