
How to Fix a Leaky Faucet in 5 Simple Steps (DIY Guide)
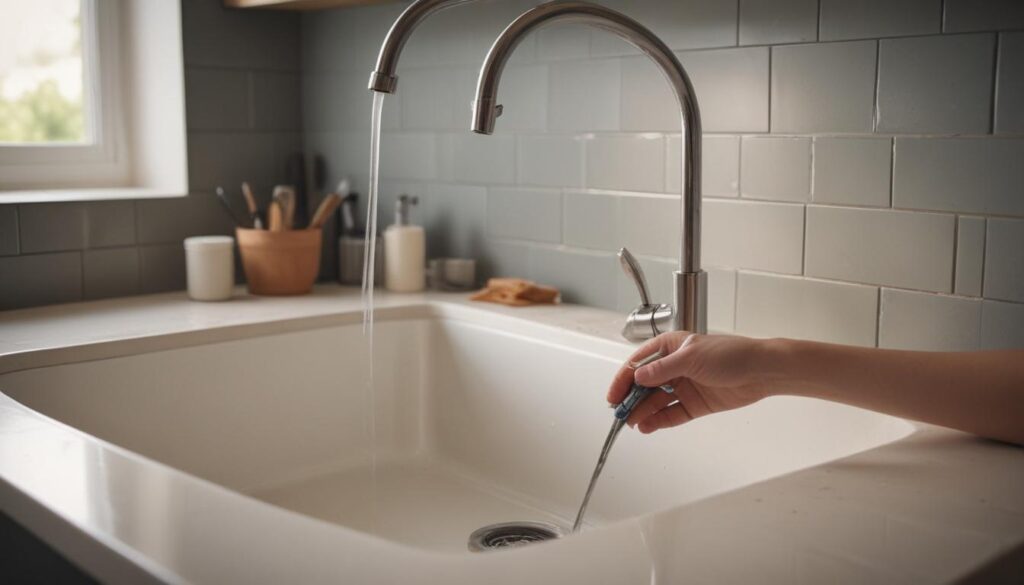
Step 1: Turn Off the Water Supply
Before you start, it’s crucial to shut off the water supply. You’ll usually find water supply valves located under your sink. Turn these valves clockwise to close them and stop the water flow. To ensure the water is completely off, try turning the faucet handle—no water should come out.
If your sink doesn’t have individual shut-off valves, you’ll need to find the main water supply valve for your home and turn it off. Take a moment to let any excess water drain from the faucet. Doing this keeps your workspace dry and eliminates potential mess during the repair.
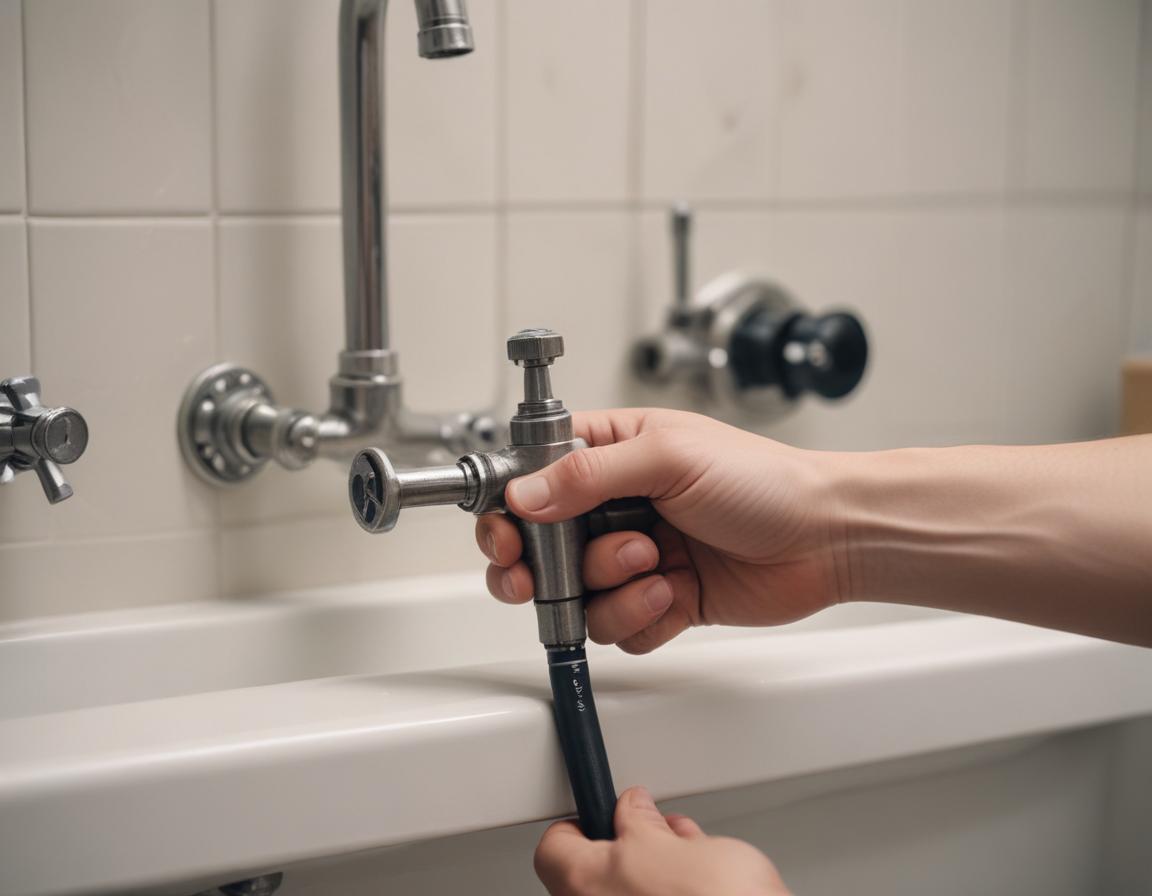
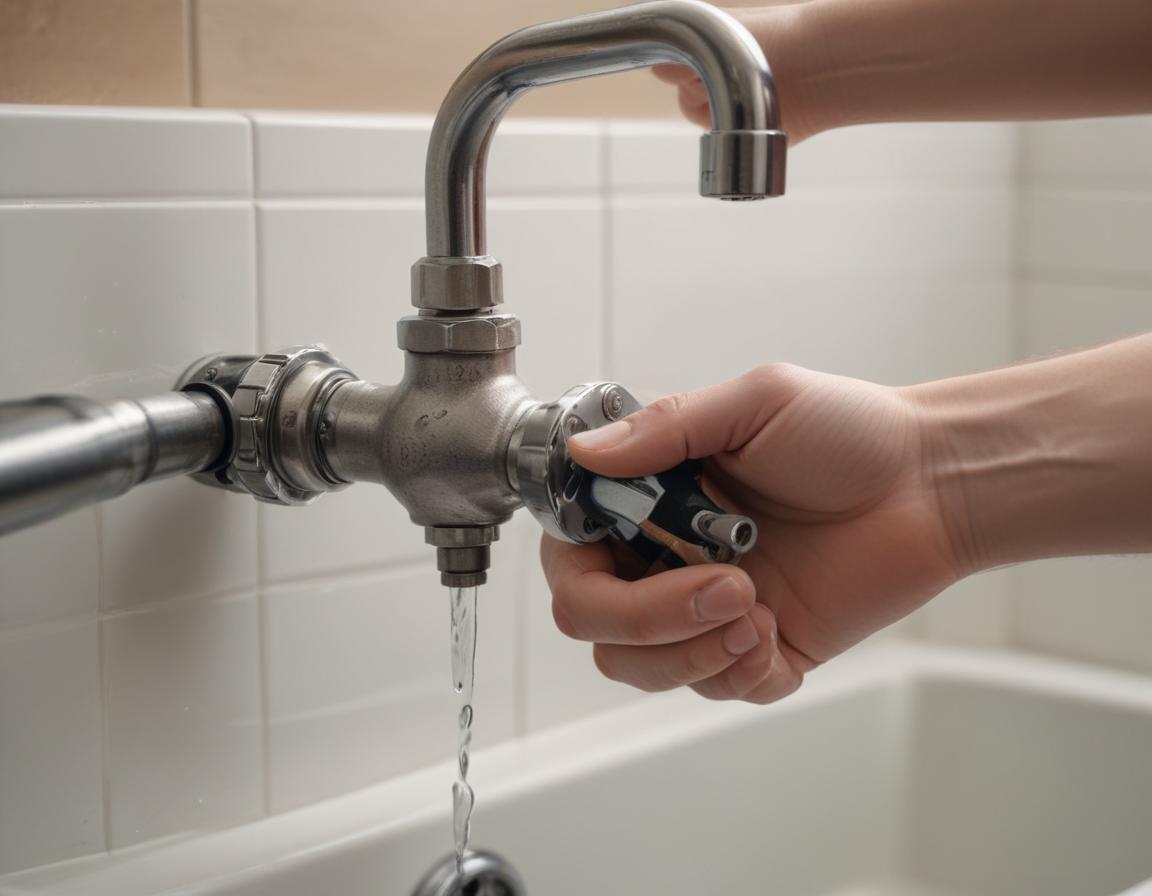
Step 2: Disassemble the Faucet
With the water turned off, the next step is to disassemble the faucet. Check for decorative caps covering the screws on the handles and gently remove them. Use a screwdriver to unscrew and remove the faucet handle.
Depending on your faucet’s style, additional parts, such as collars or nuts, may need loosening. Be patient and take note of the order in which you remove these components. This careful documentation makes reassembly much easier later on.
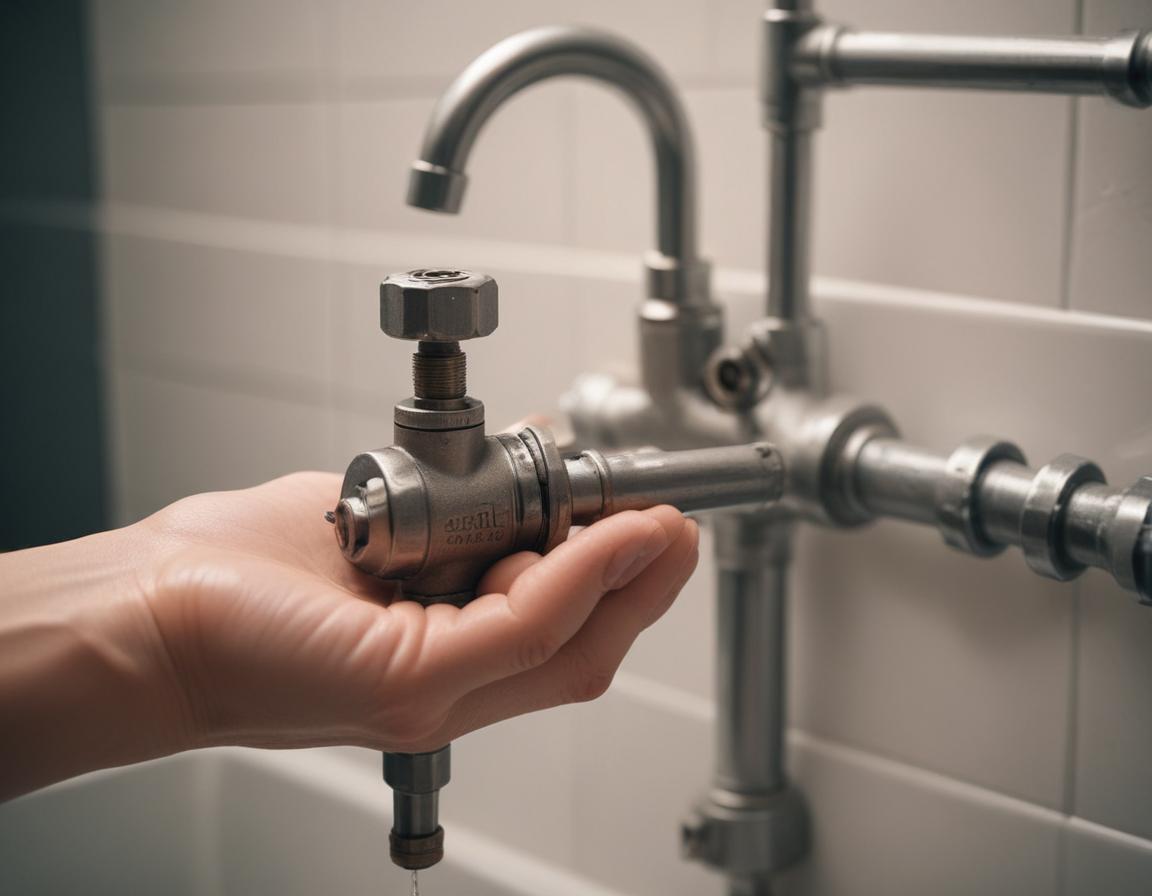
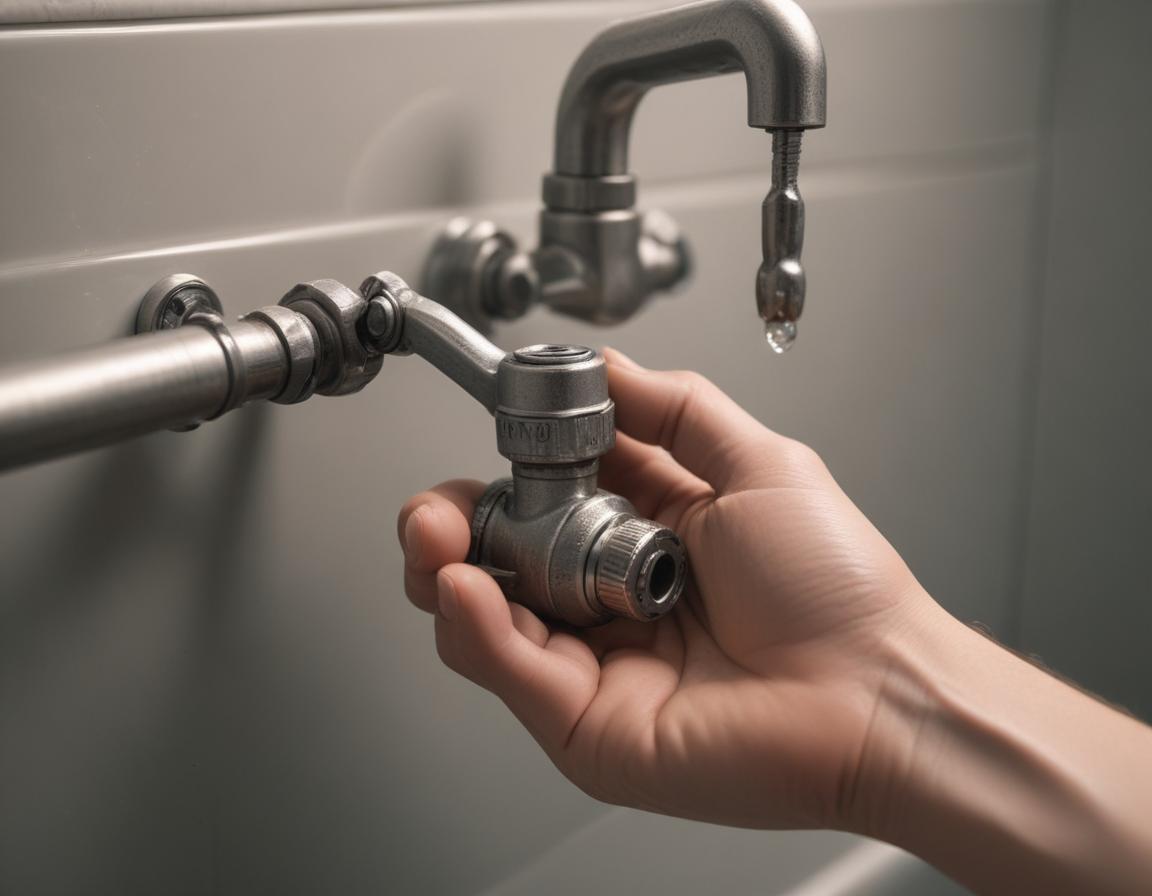
Step 3: Identify and Replace Worn Parts
Now it’s time to get to the root of the problem—examining and replacing worn components. Leaky faucets are often caused by deteriorated washers, O-rings, or corroded valve seats. Carefully inspect each part for signs of wear and tear.
If you find corroded or cracked valve seats, use a seat wrench to remove and replace them. Replacement parts are widely available at hardware stores—just ensure they’re the correct size for your faucet. Before reassembly, apply a small amount of plumber’s grease to the washers and O-rings. This keeps them flexible and makes putting everything back together much simpler.
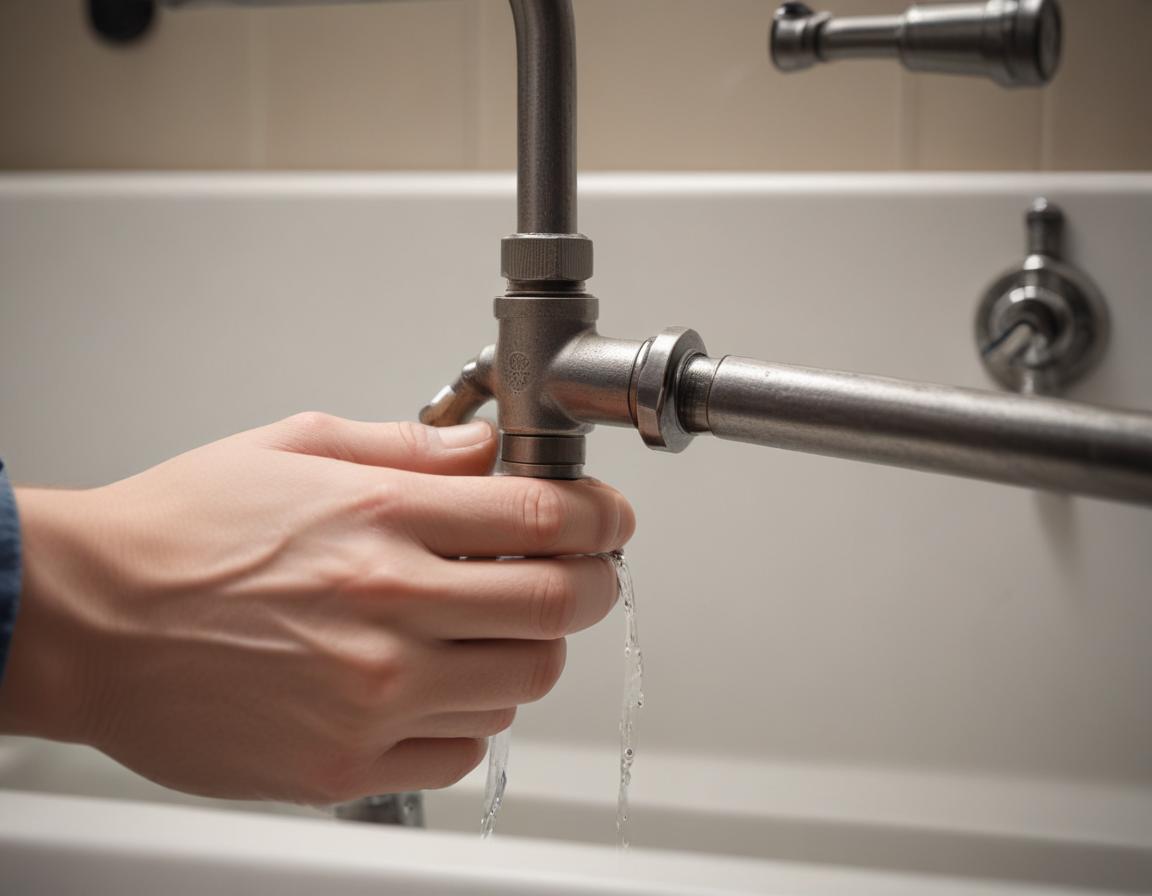
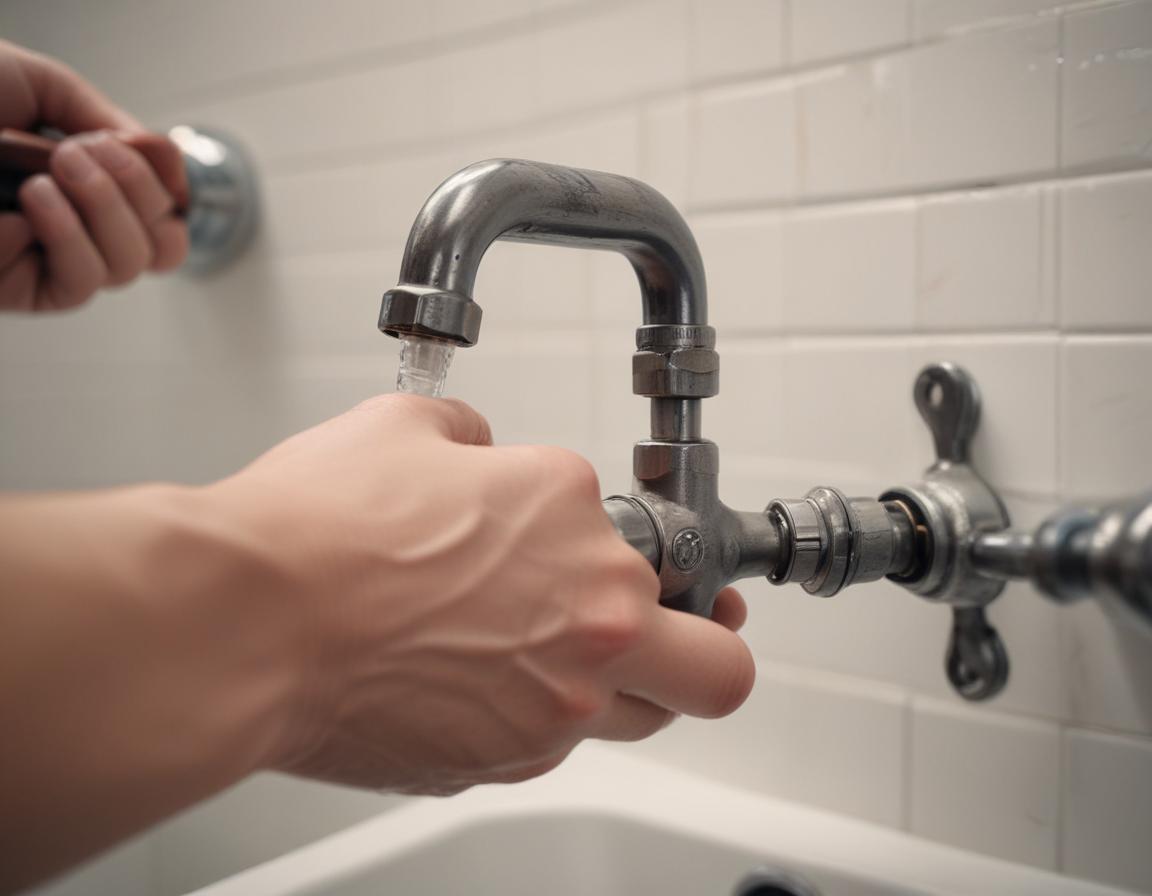
Step 4: Reassemble the Faucet
With the damaged parts replaced, you can begin reassembling the faucet. Follow the reverse order of disassembly, ensuring each component fits securely. However, avoid over-tightening screws or nuts. Overdoing it could strip threads or damage the new parts.
Once everything is carefully assembled, you’ll be ready to check your hard work by turning the water back on. Double-check all connections for security before moving to the next step.
Step 5: Test for Leaks
Now comes the moment of truth—testing for leaks. Turn the water supply valves back on and let the faucet run for a few minutes. Carefully observe if there’s any dripping or seepage.
If you still notice issues, you may need to revisit steps to ensure no components were missed or improperly installed. Don’t get discouraged—fixing a leaky faucet sometimes involves a little trial and error. If problems persist, it may be time to seek advice from a professional plumber.
Saving Water and Why It Matters
Repairing a leaky faucet isn’t just about saving yourself from constant dripping sounds—it’s also a step towards water conservation. Did you know that a single drippy tap can waste up to 700 gallons of water annually? That’s a significant amount of water that could have been saved.
By fixing your faucet, you’re playing a part in reducing water waste and contributing to sustainability efforts. Plus, it always feels great to succeed at a DIY project. Who knows—this newfound confidence might inspire you to tackle other home repairs and become a more resourceful homeowner!
“`