
How to Fix a Leaky Pipe: A Step-by-Step DIY Guide
Signs of a Leaky Pipe
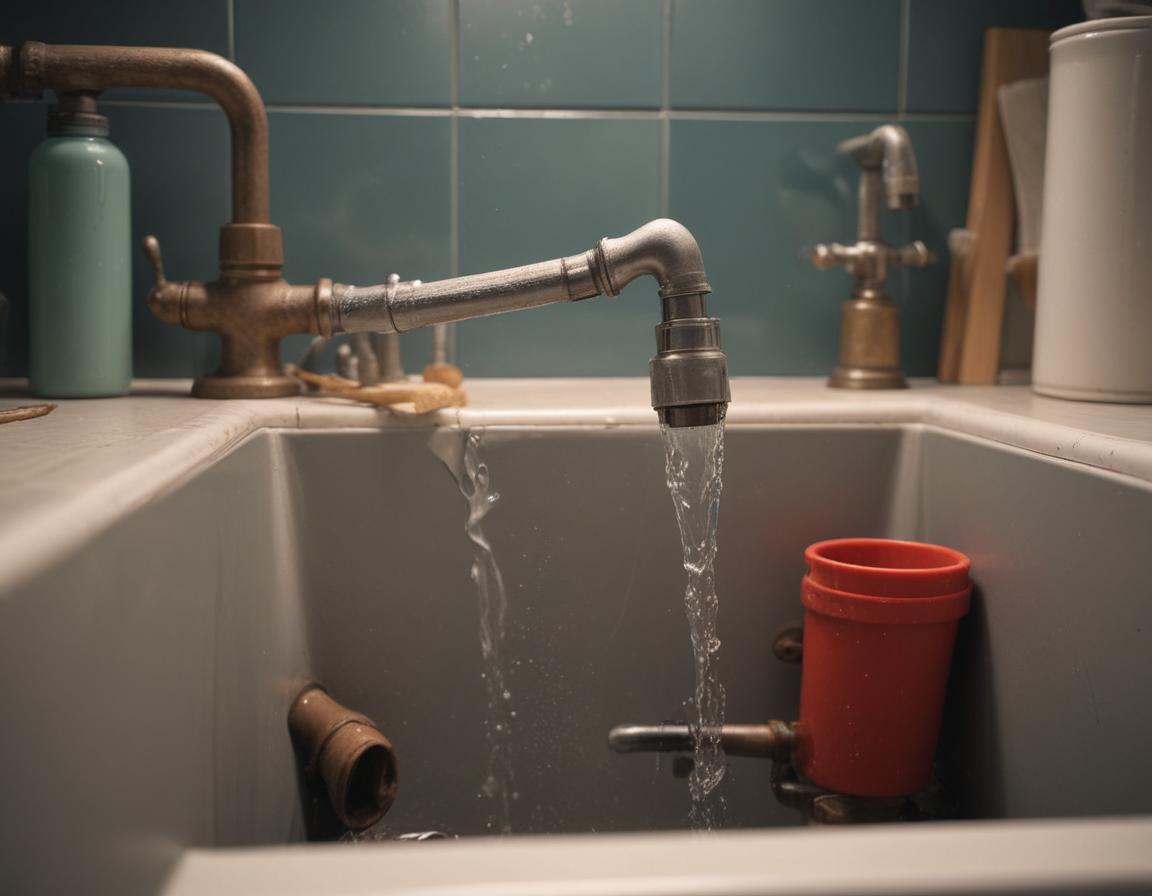
Before you start fixing, you need to identify where the leak is coming from. Common signs include:
- Dripping sounds – Even if you can’t see the leak, you may hear water escaping.
- Water stains – Stains on walls or ceilings are a clear indication of hidden leaks.
- Higher water bills – Unexpected increases often suggest a leak somewhere.
If any of these signs appear, the first step is to turn off the main water supply to prevent further damage. Check for leaks both in visible locations, such as under sinks, and hidden spots, like behind appliances. Additionally, keep an eye out for unexplained puddles or mold growth around plumbing fixtures. Acting quickly can minimize damage and save you both time and money in the long run.
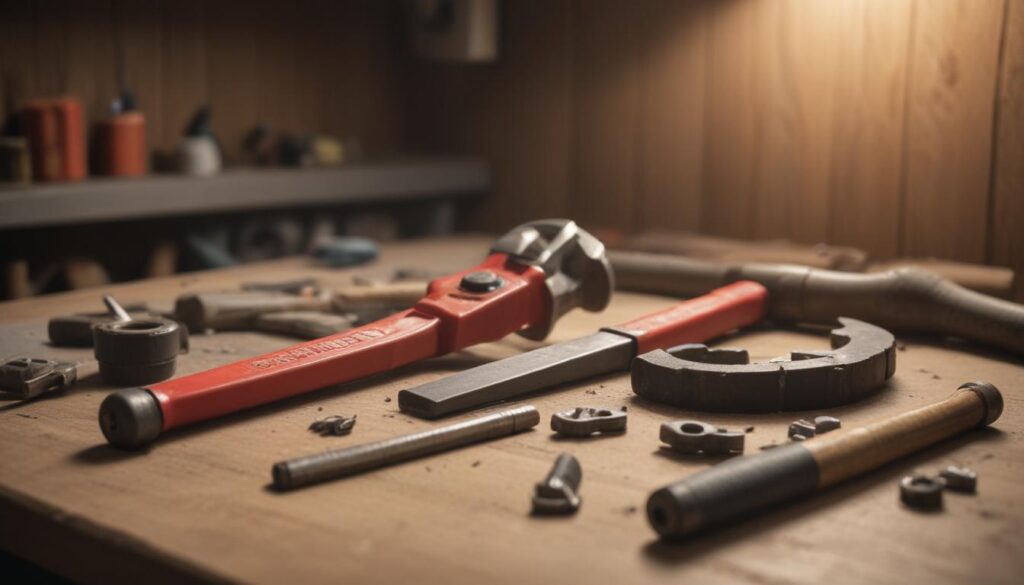
Tools You’ll Need
Equipping yourself with the right tools is essential for fixing a leaky pipe. Here’s what you’ll need:
- Pipe wrench or adjustable wrench – Ideal for handling pipes securely.
- Teflon tape or pipe dope – Helps create watertight seals on threaded joints.
- Plumber’s putty – Useful for temporary sealing small leaks in faucets or pipes.
- Repair clamps – Great for patching minor cracks or holes.
- Bucket or towel – Keeps your workspace clean and prevents water messes.
Investing in quality plumbing tools will not only make this repair smoother but also ensure you’re prepared for future DIY projects.
Step 1: Turn Off the Water
Start by shutting off the water supply to prevent further leakage. Here’s how:
- Locate the main water shutoff valve, typically near the water meter.
- Turn the valve clockwise to stop the water flow.
Once the water supply is off, open your faucets to drain any remaining water. This also relieves pipe pressure, making your repair process cleaner and easier. Confirm that the water has fully stopped before moving on to the next step.
Step 3: Tighten Loose Fittings
Loose fittings are a common cause of leaks and can often be fixed with a simple adjustment. Use a:
- Pipe wrench or adjustable wrench – Tighten the fittings gently.
Avoid overtightening, which can damage pipe threads and lead to additional leaks. If tightening doesn’t stop the issue, applying Teflon tape or pipe dope can seal connections more effectively.
Step 4: Apply Teflon Tape or Pipe Dope

Threaded pipe joints are prone to leaks. Prevent this by using Teflon tape or pipe dope:
- Teflon tape: Wrap the male threads clockwise 3–4 times evenly.
- Pipe dope: Apply a thin, even layer sparingly on the threads.
These materials reduce friction and ensure a watertight seal when re-tightening. Always follow the manufacturer’s instructions for best results.
Step 5: Use a Repair Clamp
If the pipe is cracked or has a small hole, a repair clamp is a quick and effective temporary solution:
- Position the clamp over the damage.
- Ensure the rubber gasket fully covers the crack.
- Tighten the screws to secure the clamp.
Keep in mind, this is only a temporary fix until a permanent solution, like pipe replacement or soldering, can be completed.
Conclusion
Fixing a leaky pipe is a manageable task that can save you money and stress. By following these steps and using the right tools, you can handle minor plumbing issues like a pro. If in doubt, don’t hesitate to call a professional, but with practice, you’ll be ready for any plumbing challenge that comes your way!
Stay prepared, act promptly, and keep your toolkit handy—you’ve got this!
“`