
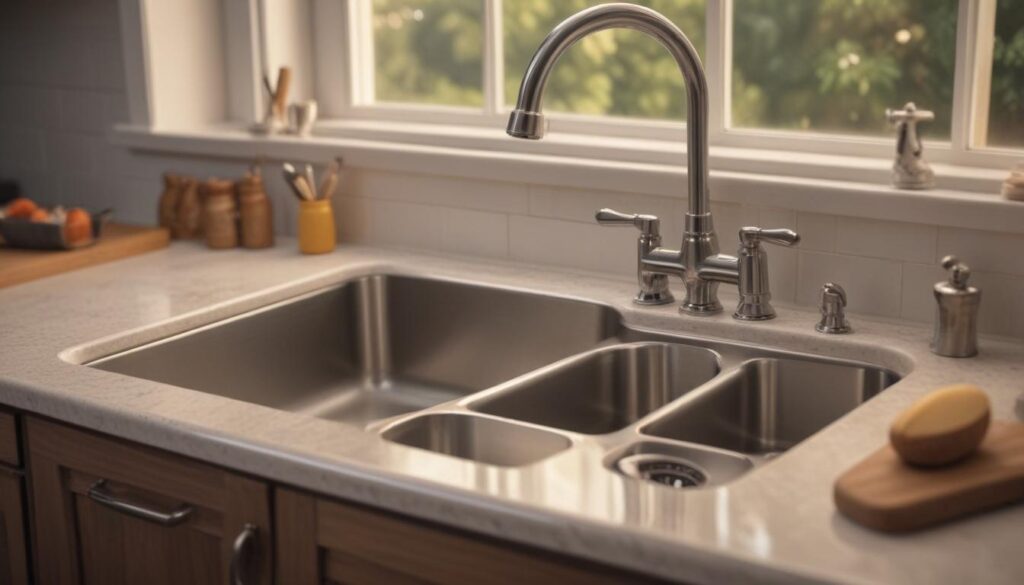
How to Replace a Kitchen Faucet: A Step-by-Step DIY Guide
Tools and Materials You’ll Need
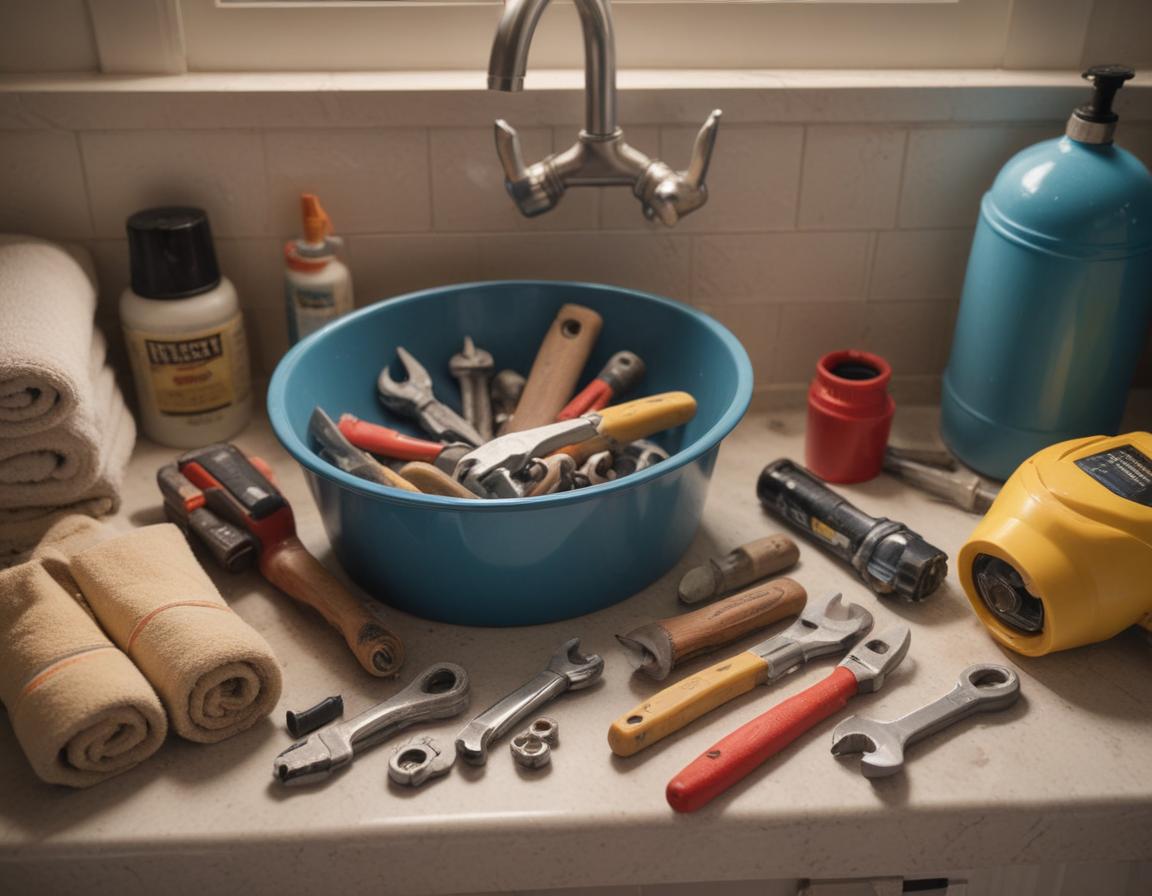
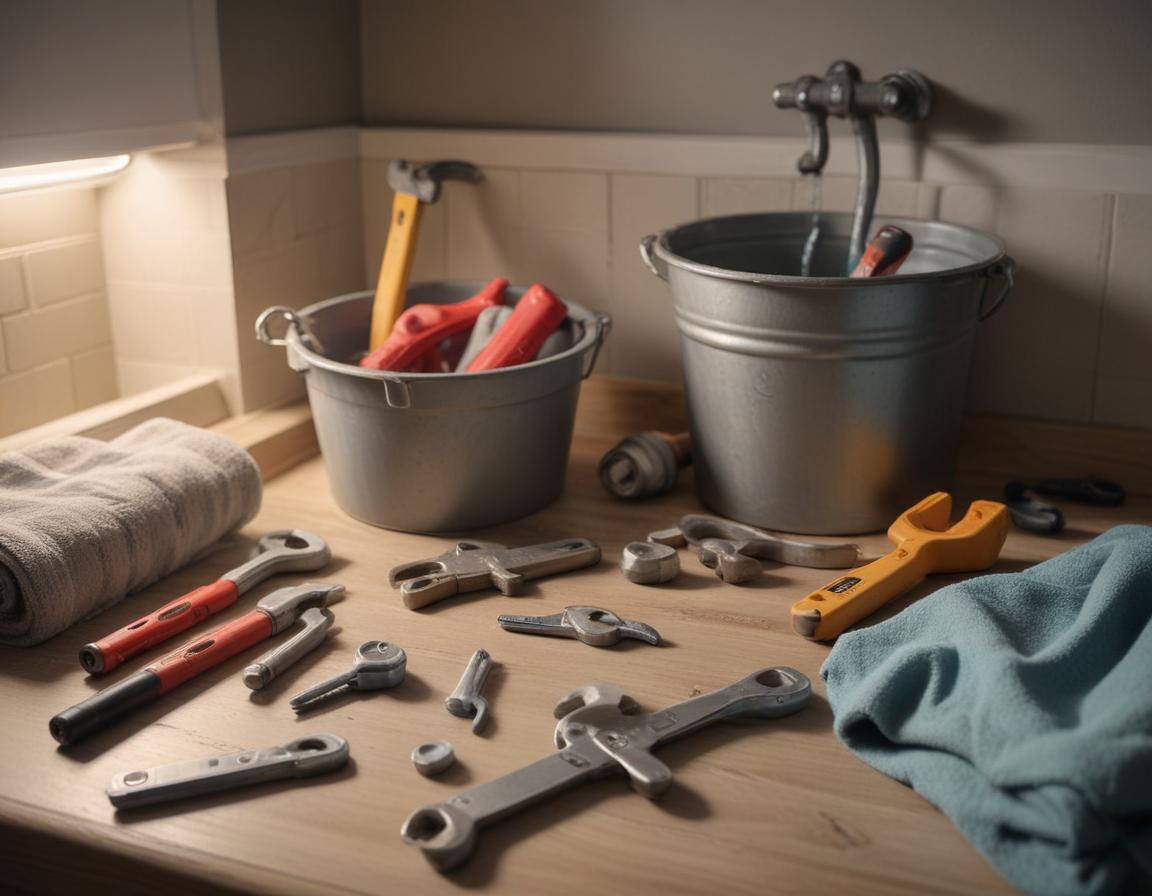
Before you dive into replacing your kitchen faucet, preparation is key. Gathering your tools ahead of time ensures a seamless installation process and prevents unnecessary interruptions. Here are the essentials:
- A new kitchen faucet suited to your sink’s configuration
- An adjustable wrench
- A basin wrench for tight spaces under the sink
- A bucket and towels to catch water spills
- Plumber’s putty or silicone sealant, depending on the faucet
- Old rags or sponges for cleanup
- A flashlight for poorly-lit areas
- Optional: Slip-joint pliers as substitutes for wrenches
With these tools in hand, you’ll be ready to confidently tackle this project.
Step 1: Turn Off the Water Supply
Before dismantling your old faucet, turn off your water supply. Locate the hot and cold shutoff valves beneath your sink and turn them clockwise until fully closed. If you can’t locate these, you might need to turn off your home’s main water supply. Afterward, release any trapped water pressure by opening the faucet and letting the remaining water drain out. This step ensures a safe and mess-free workspace.
Step 2: Disconnect the Faucet Supply Lines
Place a bucket and towels under your sink to avoid water spills when disconnecting the supply lines. Use an adjustable wrench or slip-joint pliers to carefully loosen the connections at the shutoff valves. Next, use a basin wrench to remove the mounting nuts or screws securing the faucet. Take your time with these steps to prevent damage to the valves or threads. Patience pays off here for a smooth faucet removal process.

Step 3: Remove the Old Faucet
With the supply lines disconnected, it’s time to remove the old faucet. Often, the faucet base is sealed with plumber’s putty. Use a utility knife or a scraper to carefully remove this putty, leaving behind a clean surface for your new faucet. You might also need to wiggle the faucet gently to loosen it. Check underneath for additional screws or clips that may still be securing the faucet. Removing the old faucet is a great milestone, putting you midway toward your upgrade!

Step 4: Install the New Faucet
Now for the fun part – installing your new faucet! Begin by applying a bead of plumber’s putty or sealant recommended by the manufacturer around the base of your faucet. If a gasket is included, it replaces the need for putty. Place the faucet over the mounting holes in your sink and press firmly for a watertight seal. Secure the faucet beneath the sink using the provided mounting nuts or screws. Be careful not to overtighten, as this could damage the components.

Step 5: Connect the Supply Lines
Reconnect the supply lines by attaching the hot water line to the left and the cold water line to the right. Using an adjustable wrench, tighten the fittings snugly but avoid over-tightening, as this can strip threads or cause damage. If the new faucet’s flexible supply lines are too short, consider purchasing extensions. This step ensures your faucet is ready to function perfectly.

Step 6: Test for Leaks
Here comes the final test! Turn the water supply back on, starting with the shutoff valves under the sink. Run water through the new faucet and inspect all connection points – from the base of the faucet to the supply lines – for leaks. If you notice any, tighten the connections or reapply sealant as needed. Once everything is confirmed to work properly, clean up your workspace, and admire your accomplishment. Voilà – your kitchen has a fresh new centerpiece!

Conclusion
Replacing a kitchen faucet can greatly enhance your space’s functionality and style. By following these step-by-step instructions, you can successfully handle this rewarding home improvement project on your own. Remember, the key is preparation, patience, and thorough checks during the process. If you do encounter obstacles, don’t hesitate to consult your faucet’s manual or seek professional assistance. Happy DIYing, and enjoy your upgraded kitchen!
“`